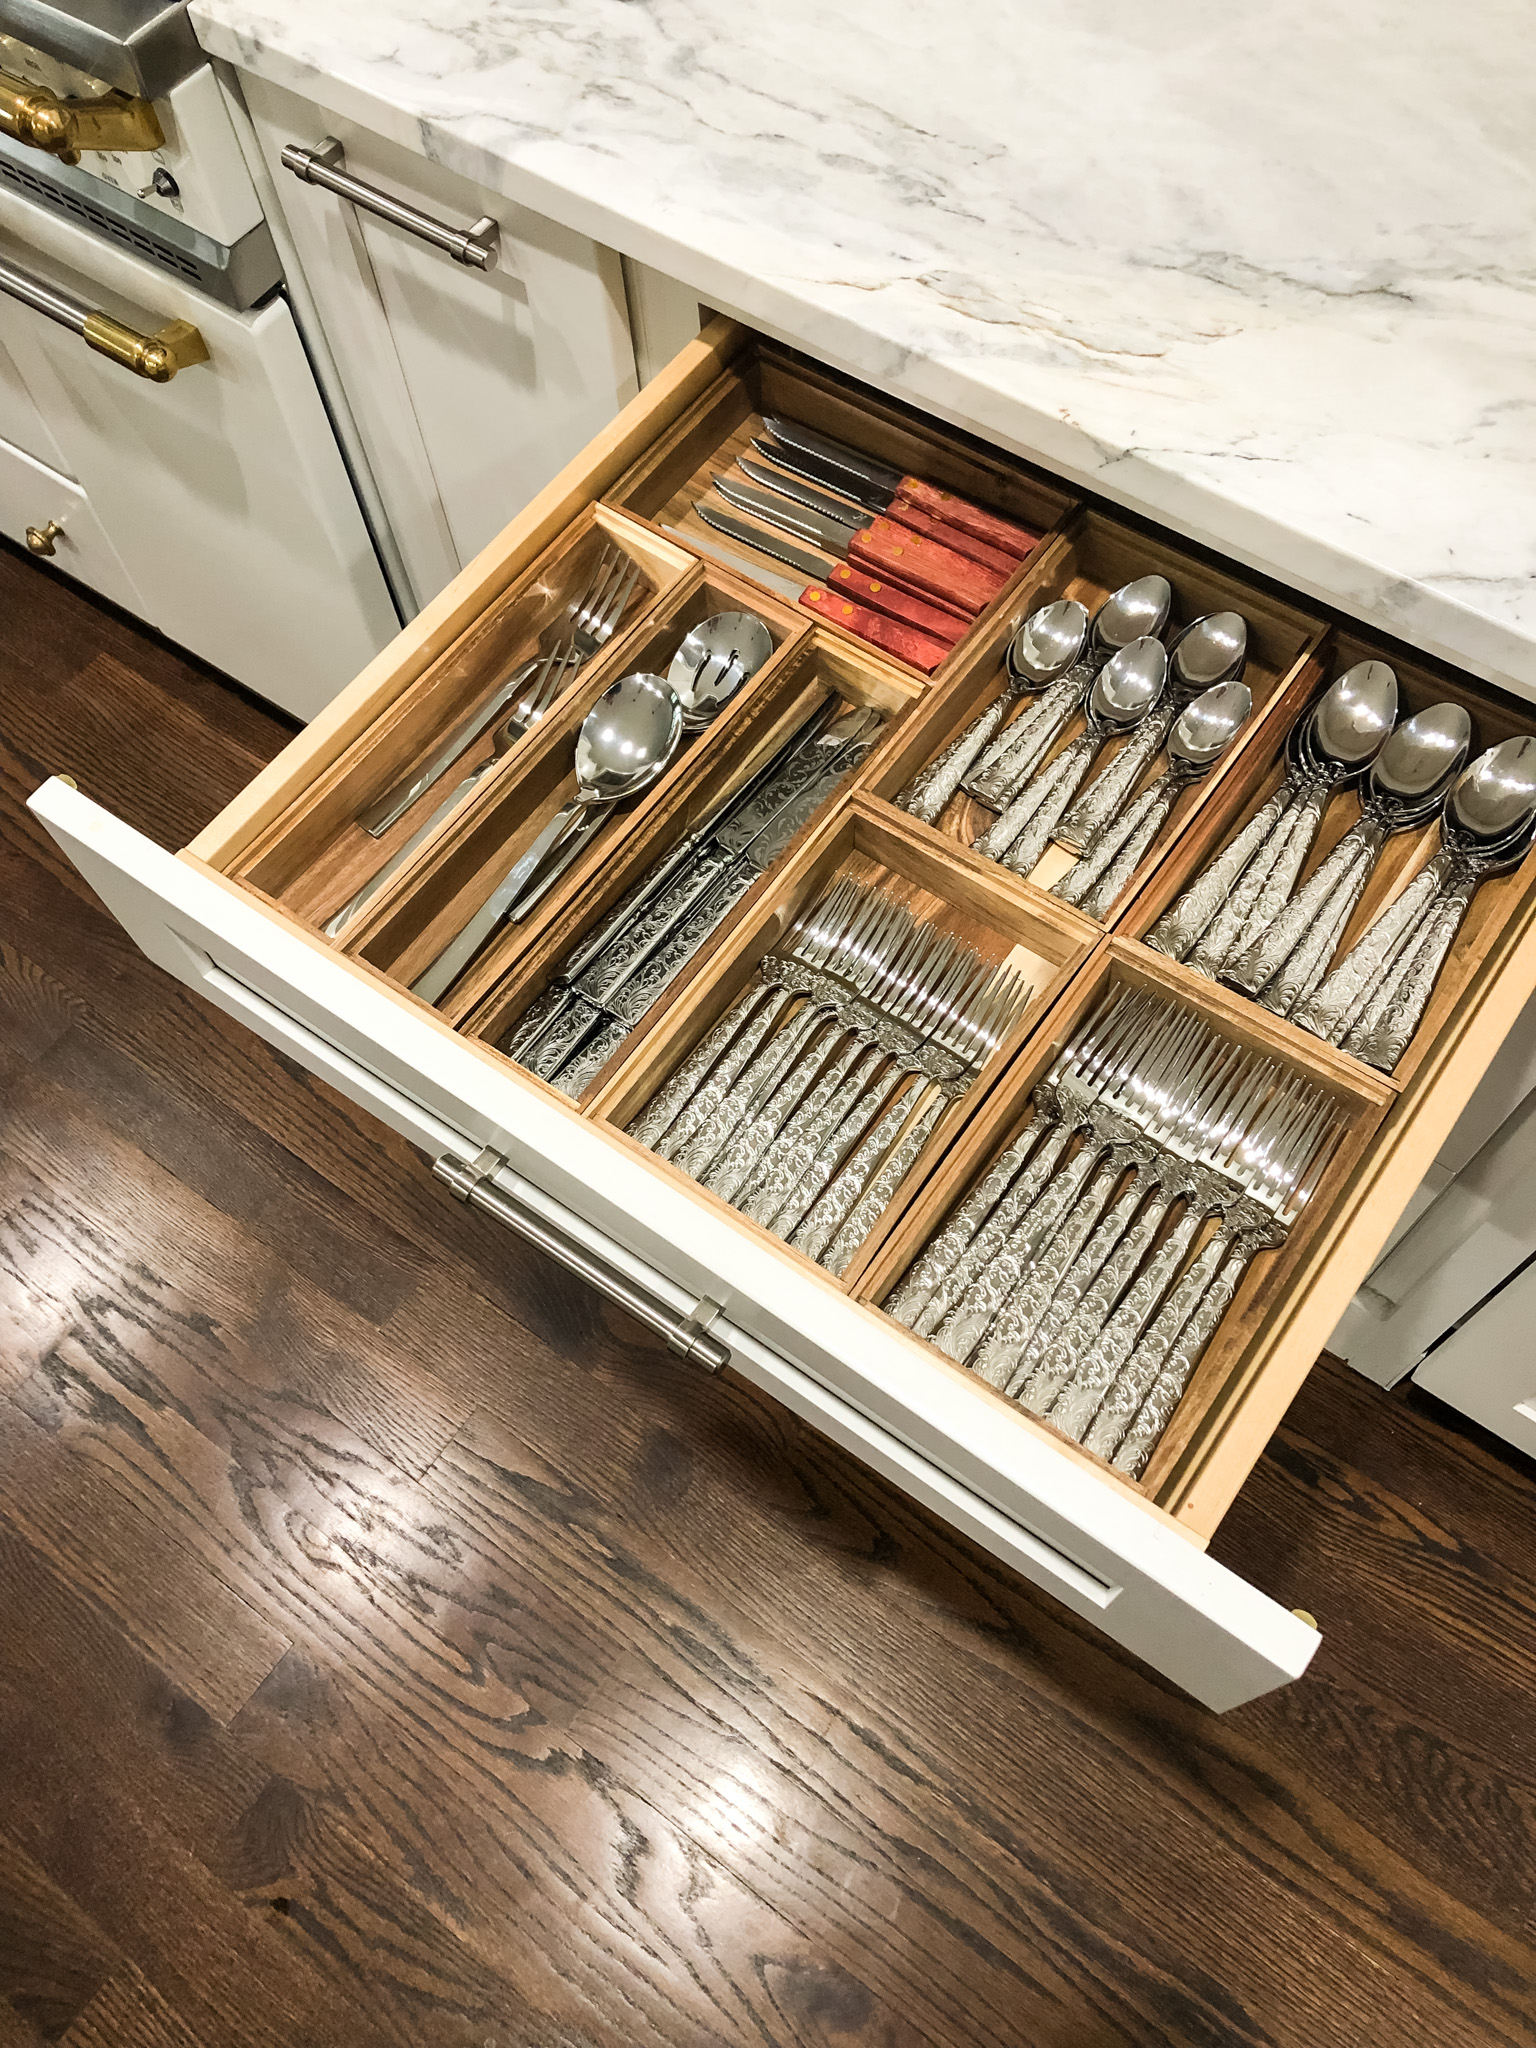
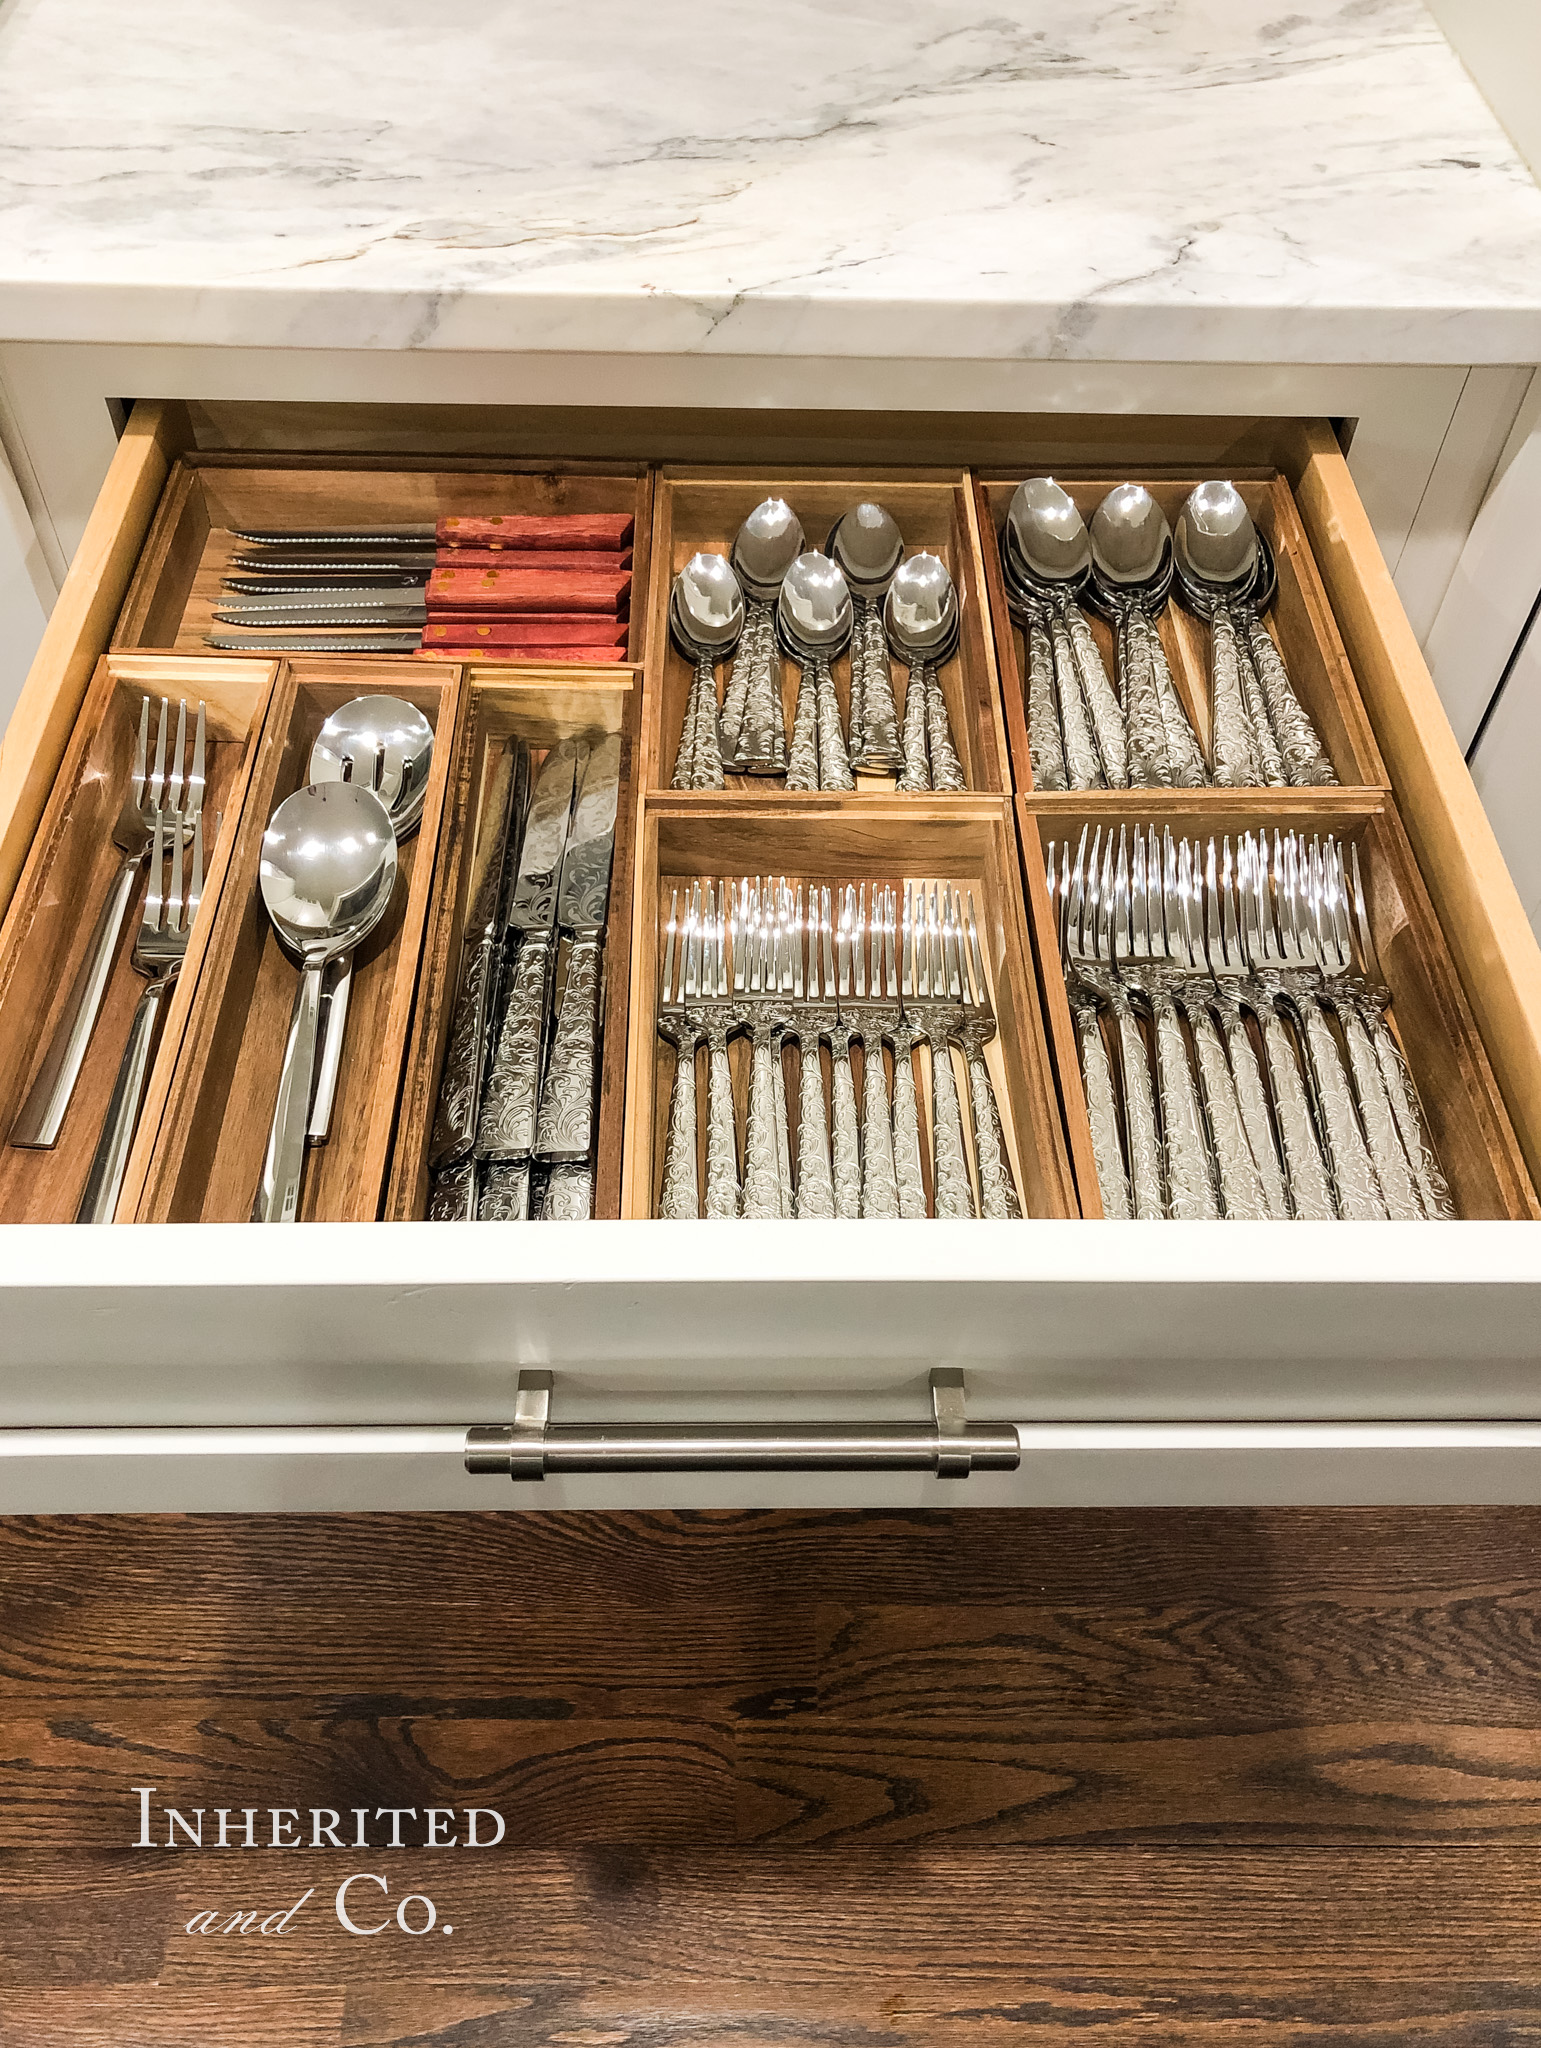
Around the end of last year, my husband and I realized that we were down to two dinner forks in our everyday flatware set. We thought we probably tossed them into the trash, along with takeout boxes, due to some brain fog we experienced from an illness we both had the month prior. The mystery of the missing forks remains unsolved, but these eating utensils have been replaced and upgraded now. Plus, the entire drawer has been organized. I obviously started with this organization task because of need, but I do think utensil drawer organization, including flatware, serving utensils, and kitchen gadgets, is an easy place to start if you are organizing your kitchen.
[Affiliate links are used in this post. As an affiliate for a program (including being an Amazon Associate), I get a small commission (earn money) from qualifying purchases made through the included links, at no additional cost to you.]

Step-by-Step Guide to Organizing Your Kitchen Utensil Drawer
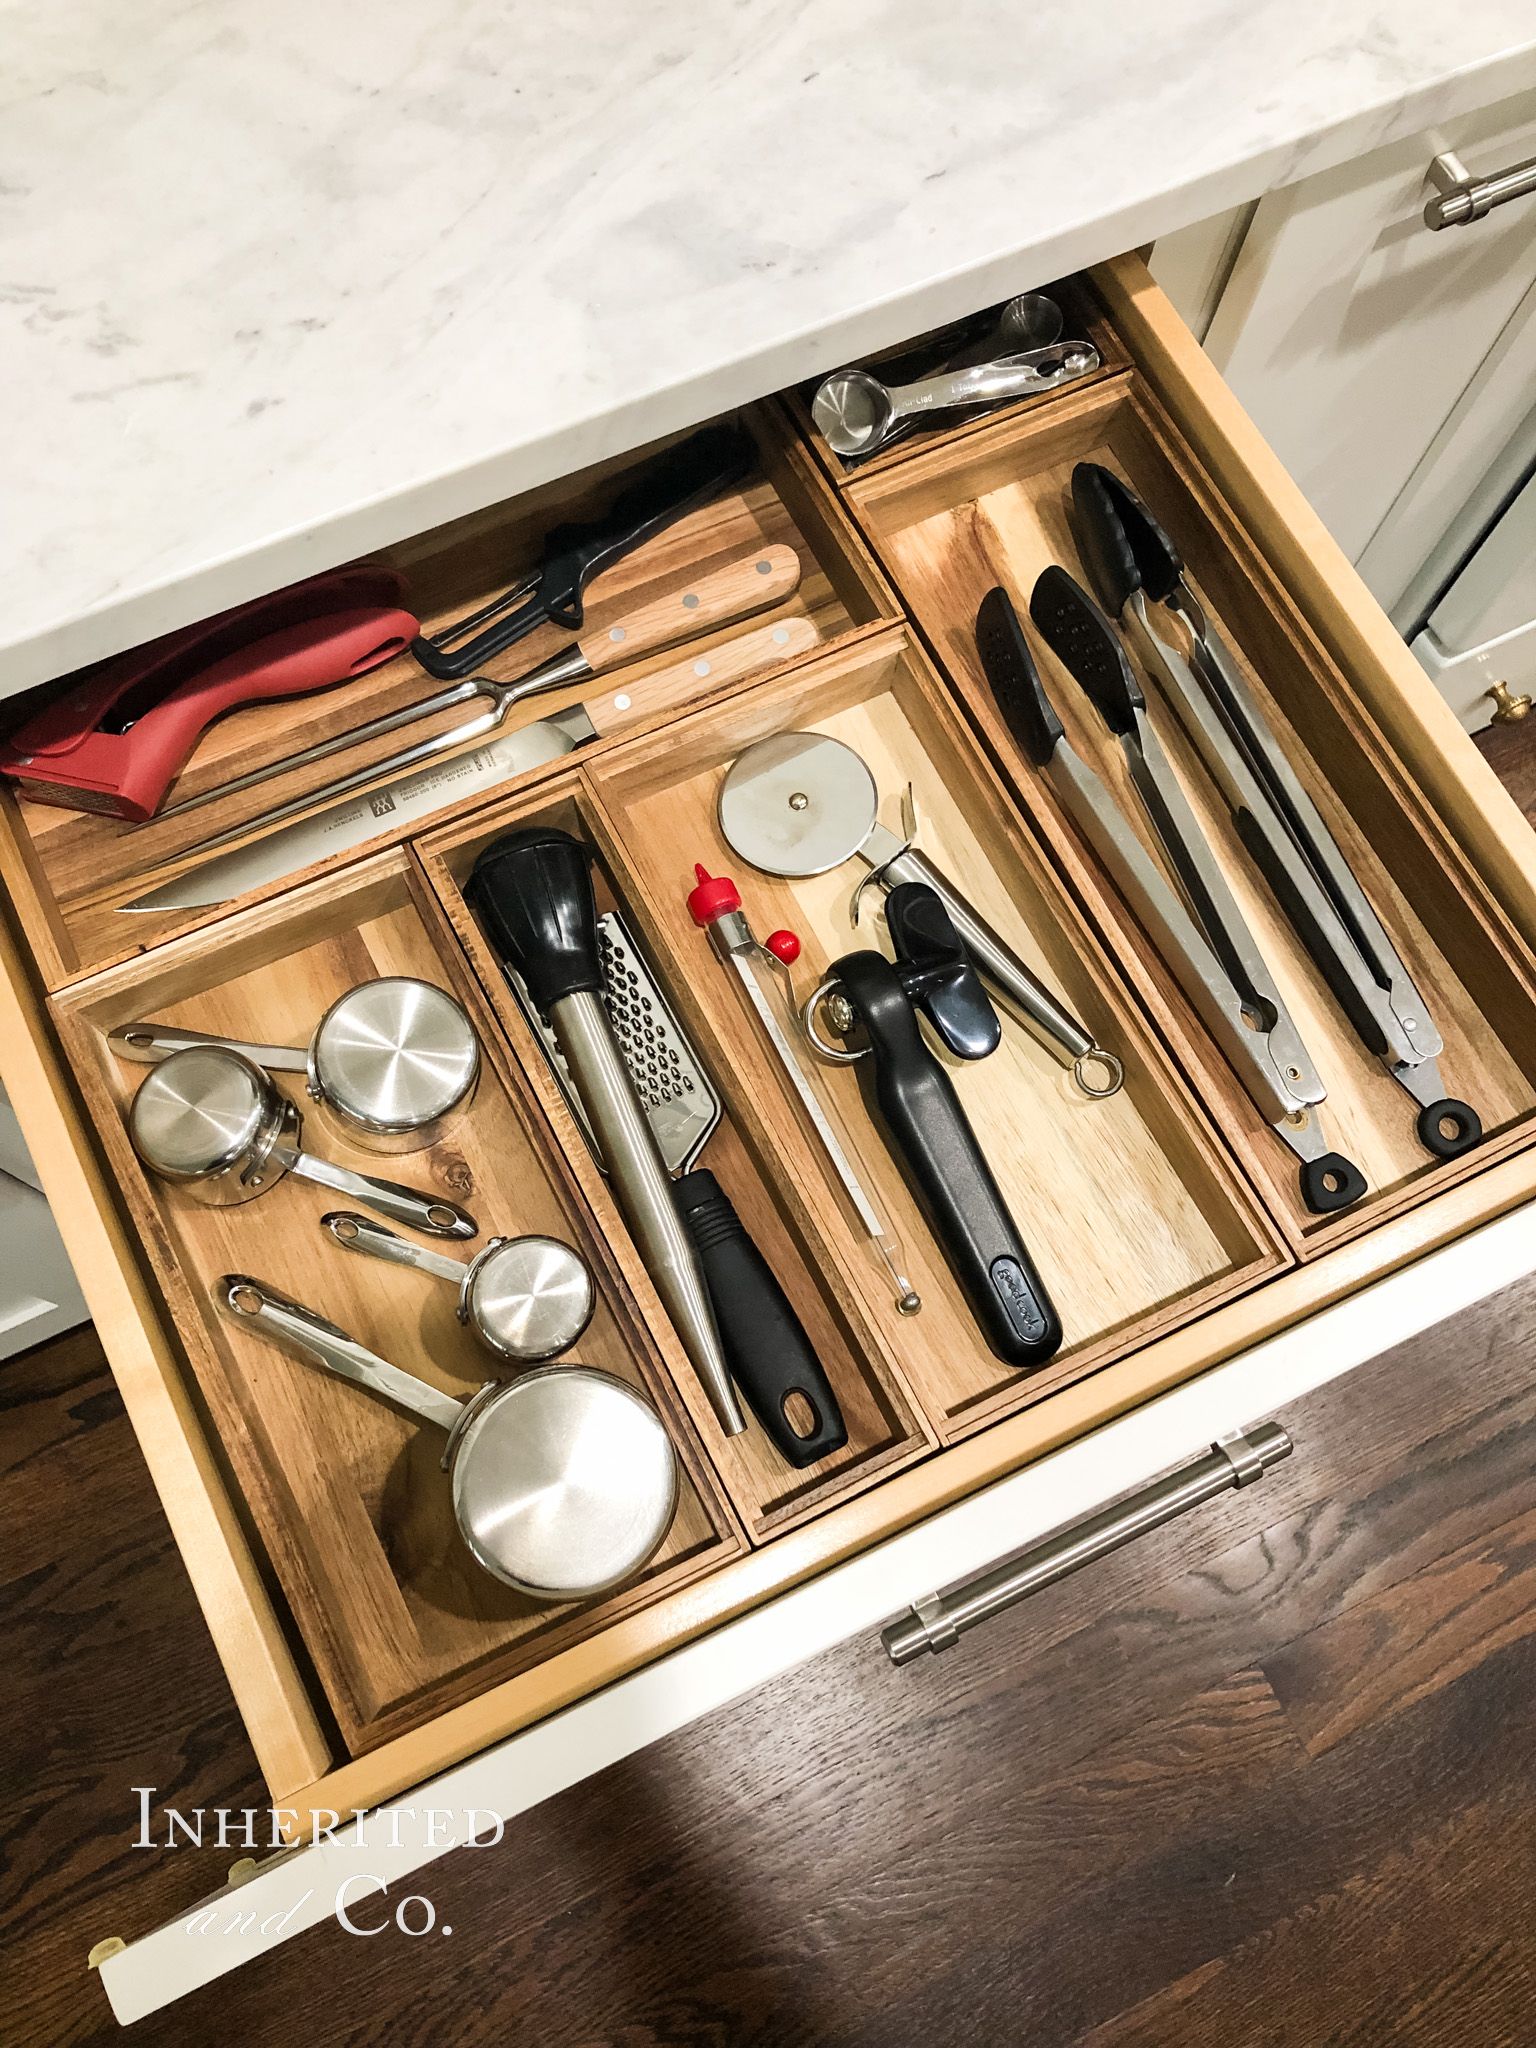
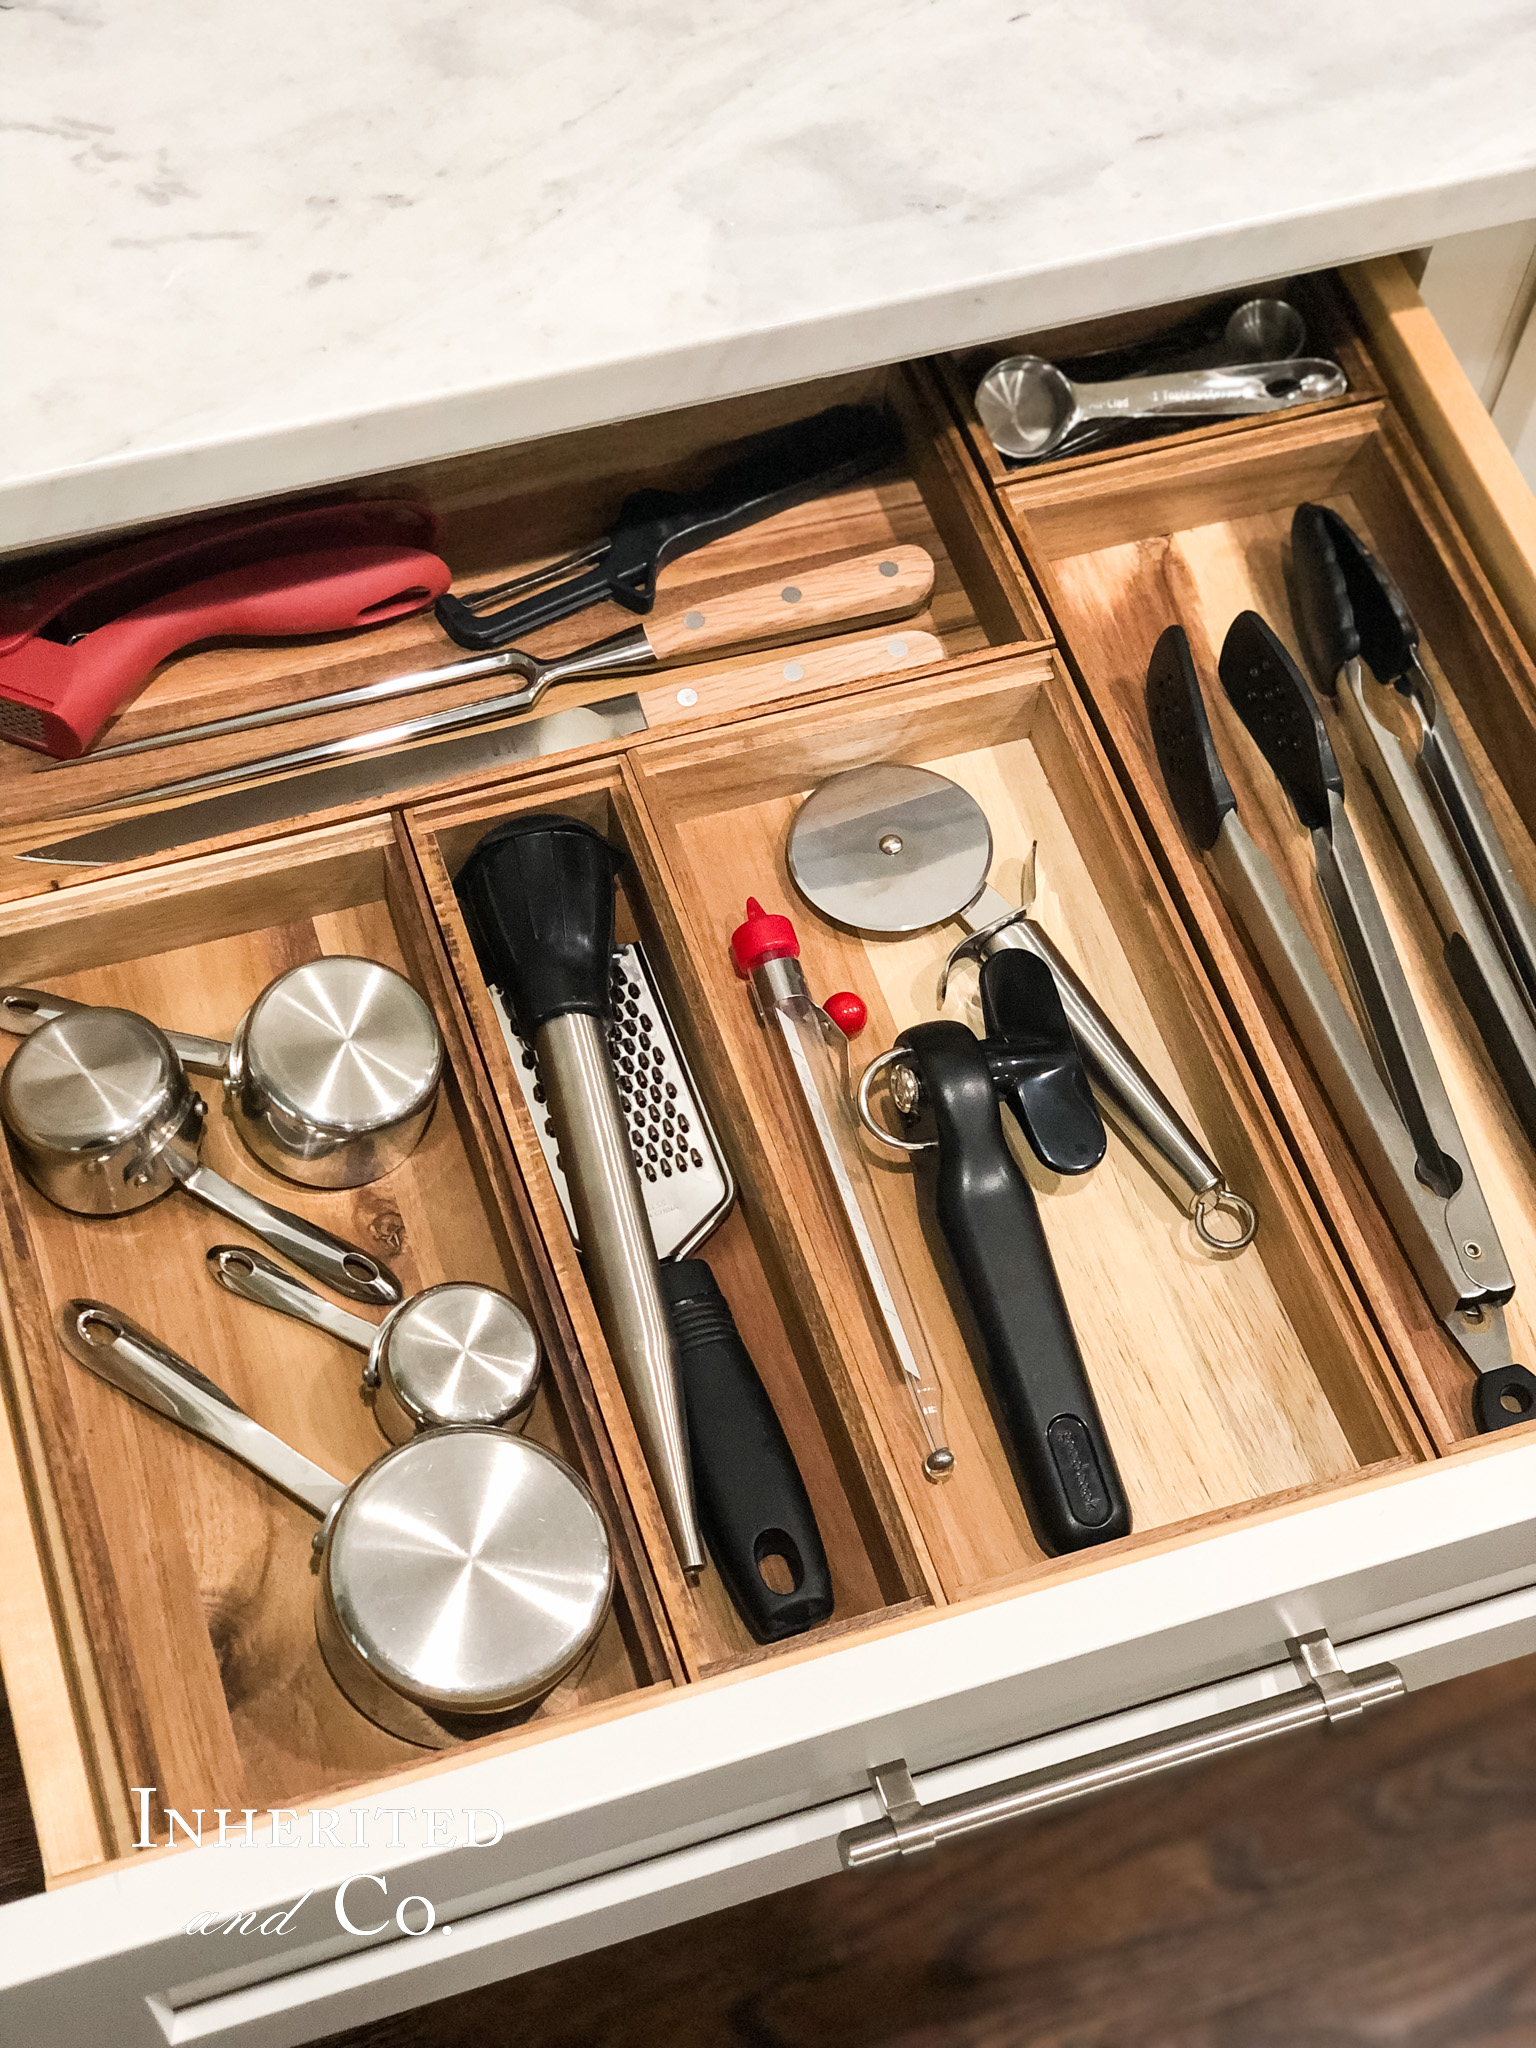
For this particular organizing project, I tackled two drawers—one contained our flatware and serving utensils while one contained more kitchen gadgets like pizza cutters and measuring cups. This project was completed over several weeks due to shipping delays, but you can easily do this project in under an hour once you have everything.
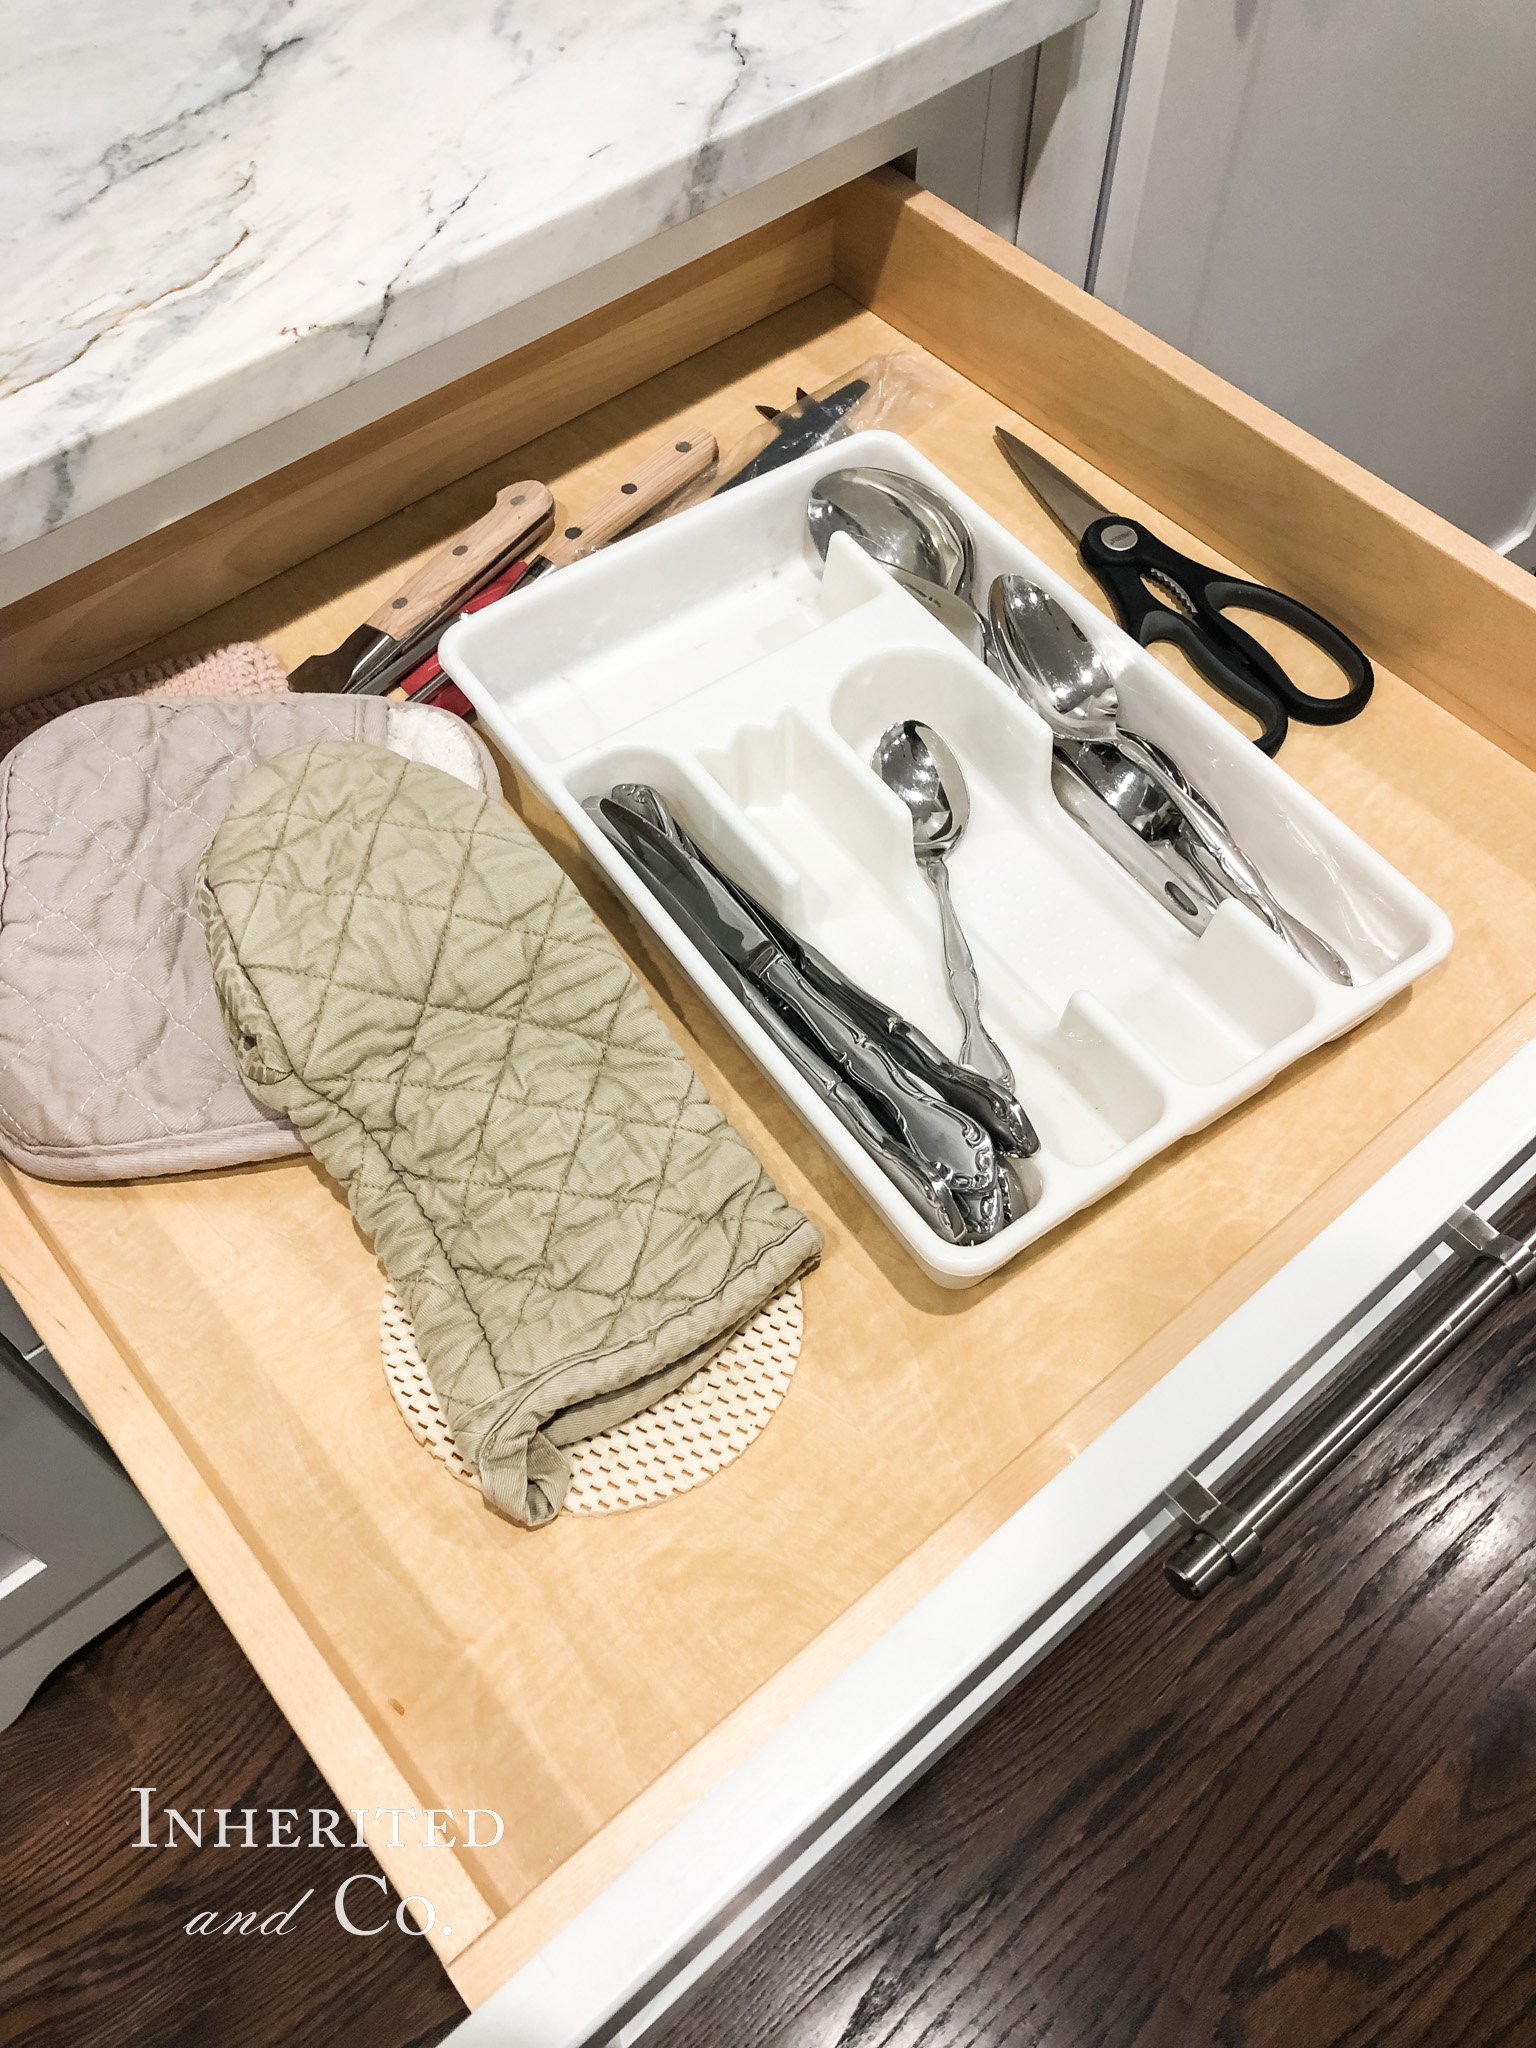
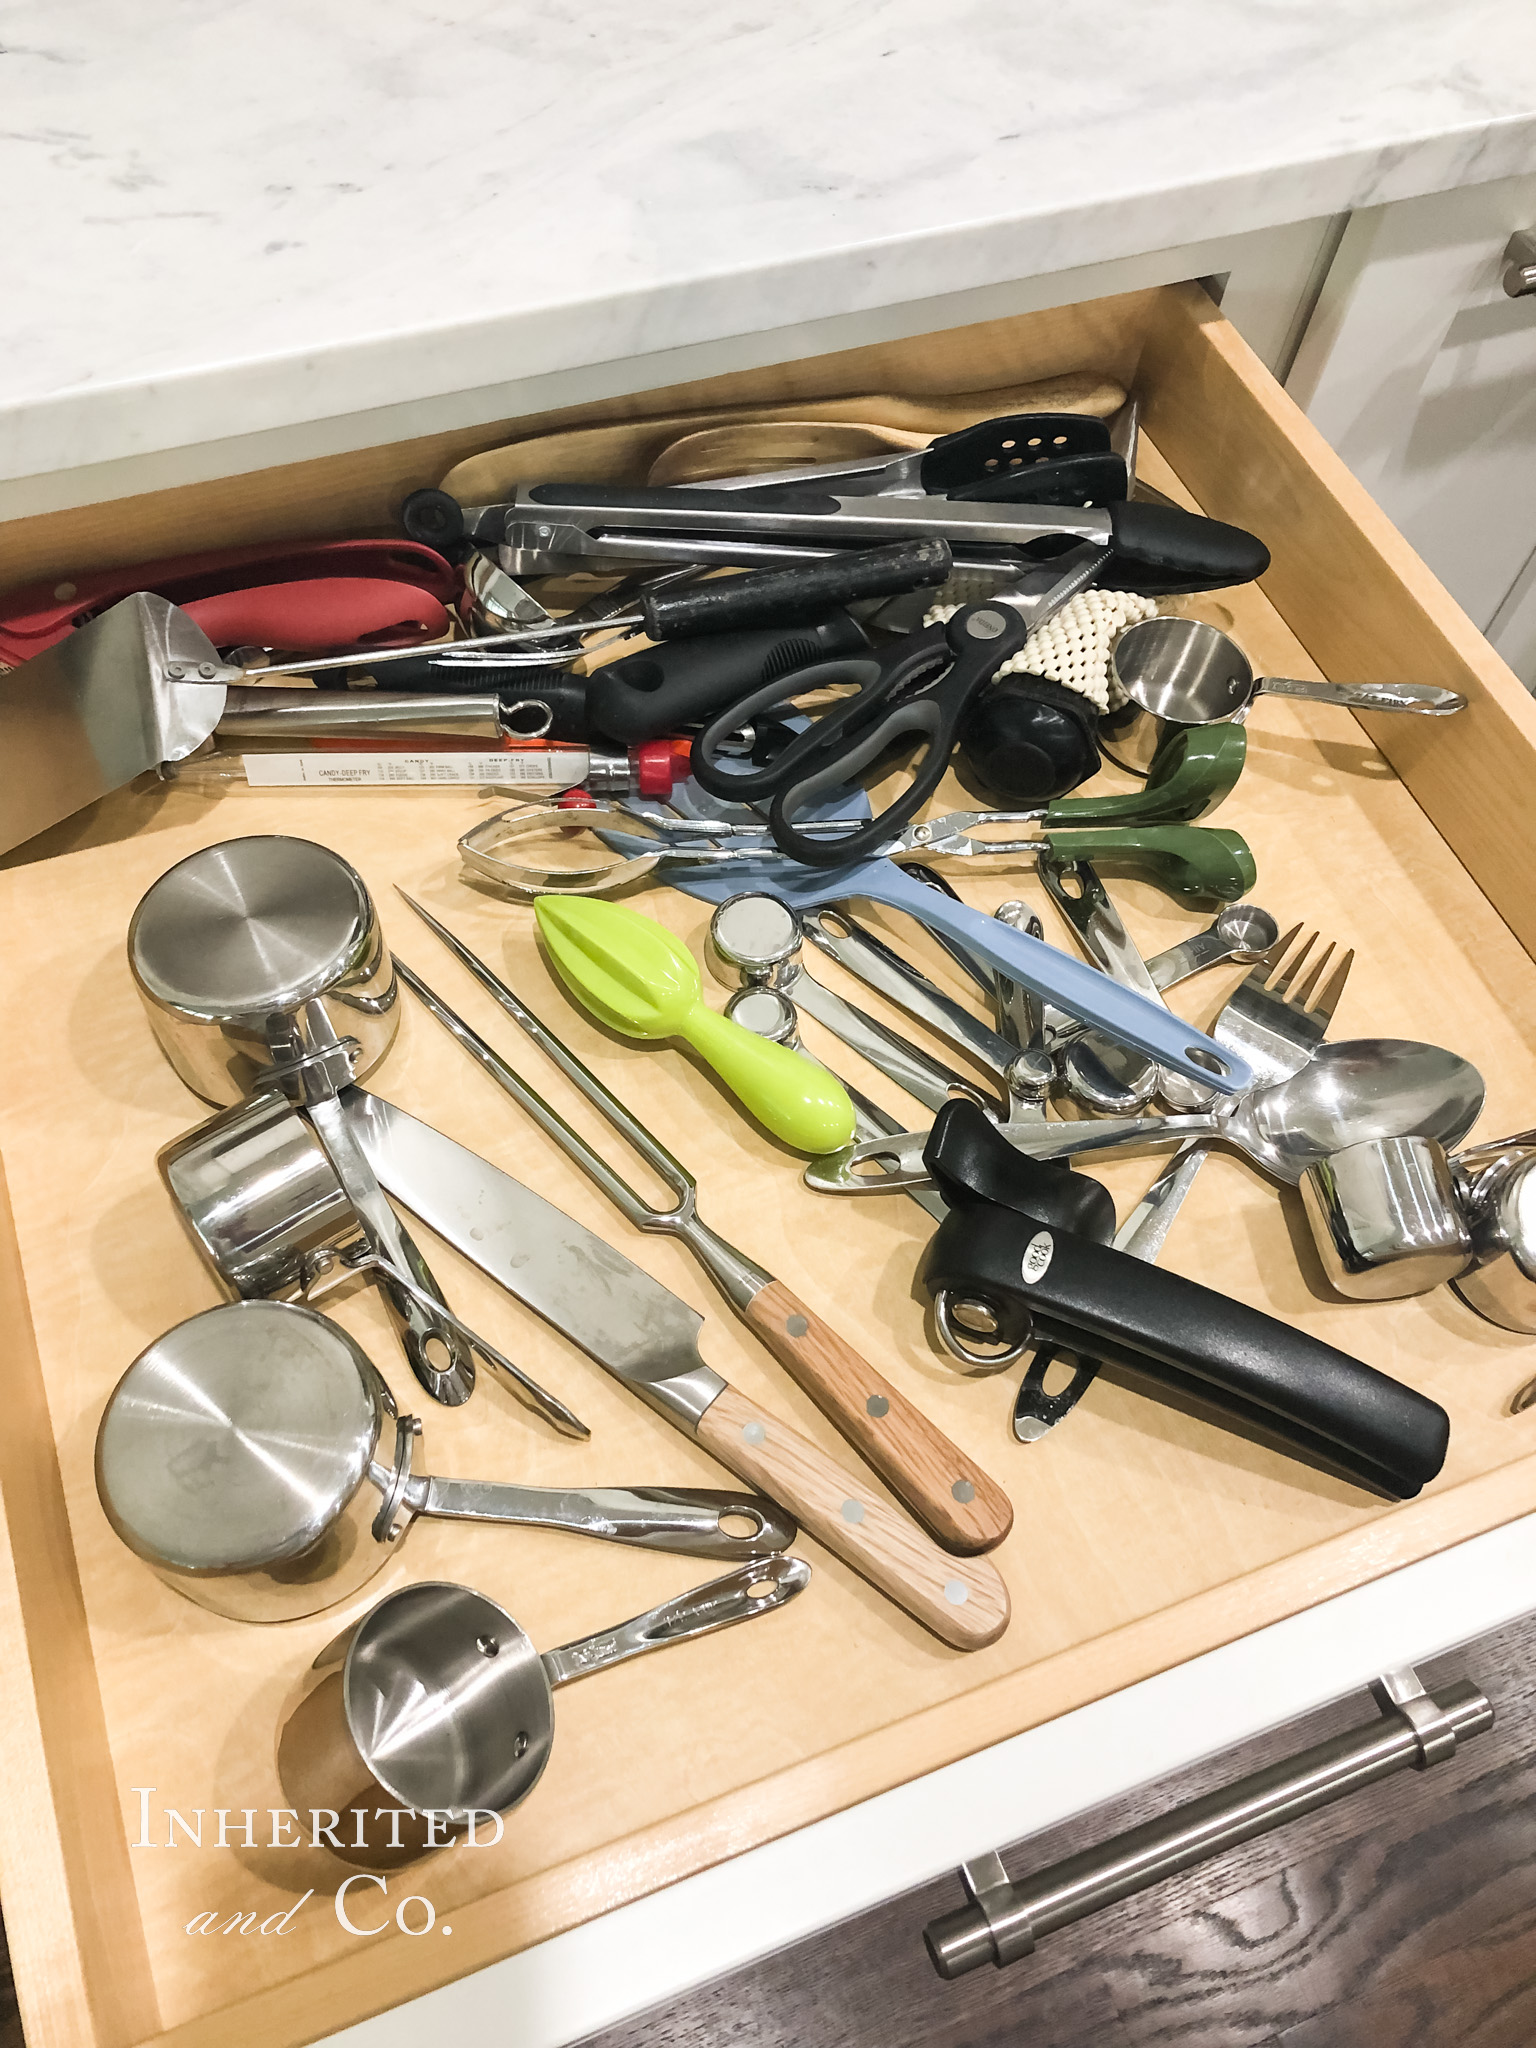
Whenever I tackle an organization project, I follow a certain set of steps. You can find them below, as well as what I did in particular for this utensil drawer organization:
- CLEAR—I pulled everything out of the drawers. I find it much easier to visualize a new setup when I’m working with a clean slate.
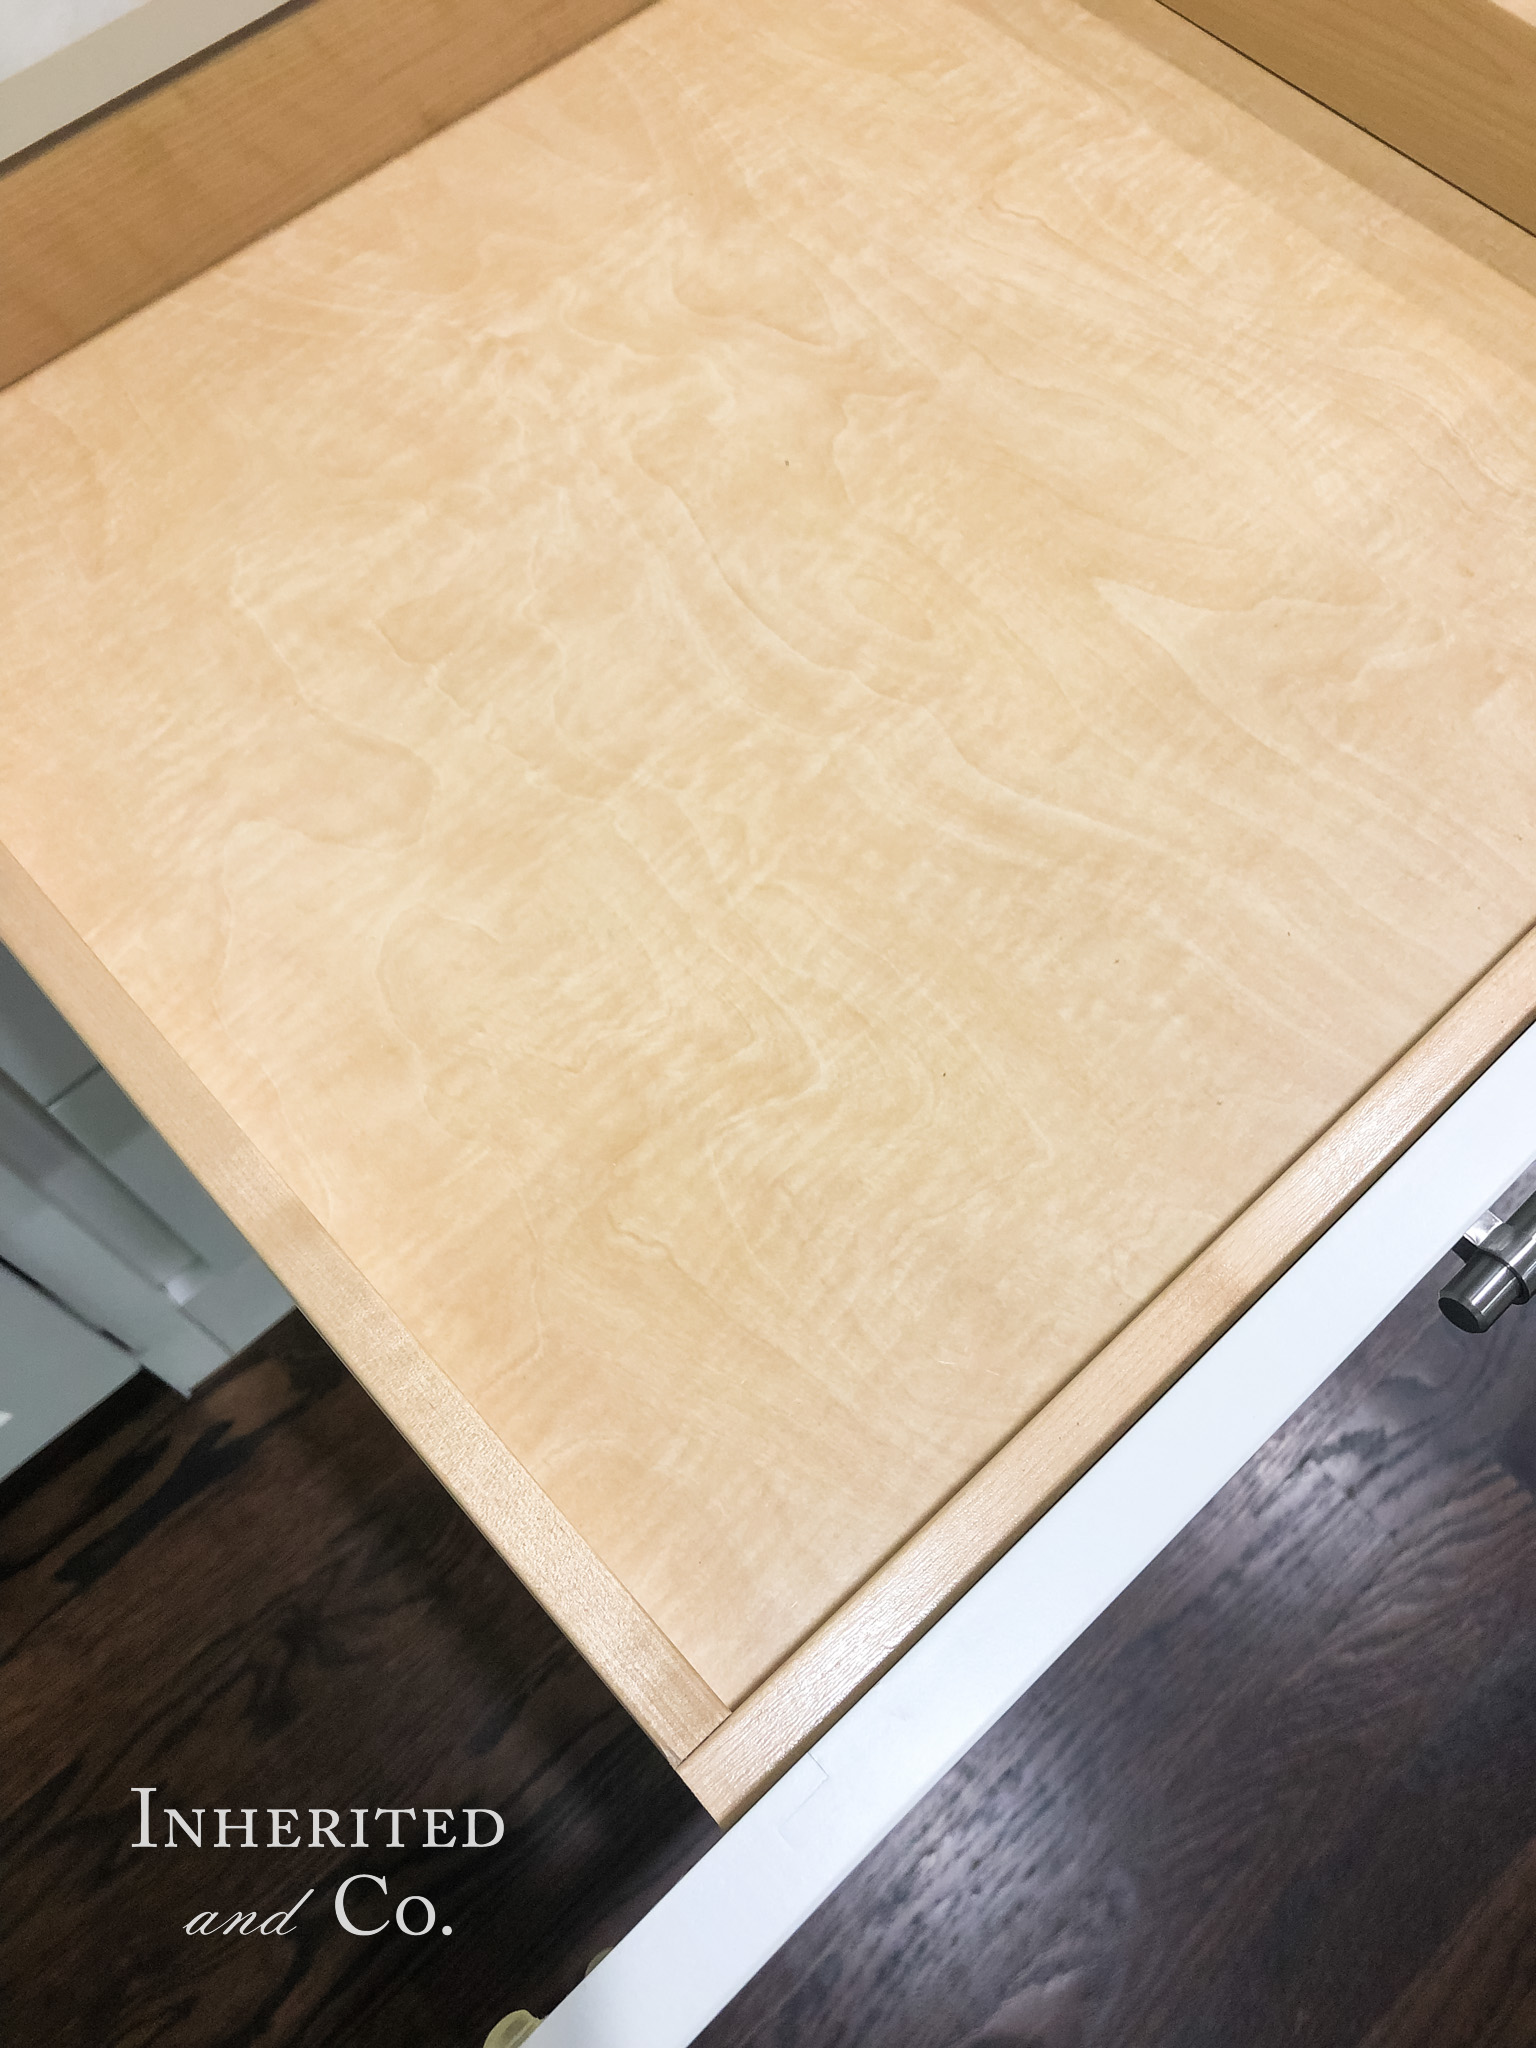
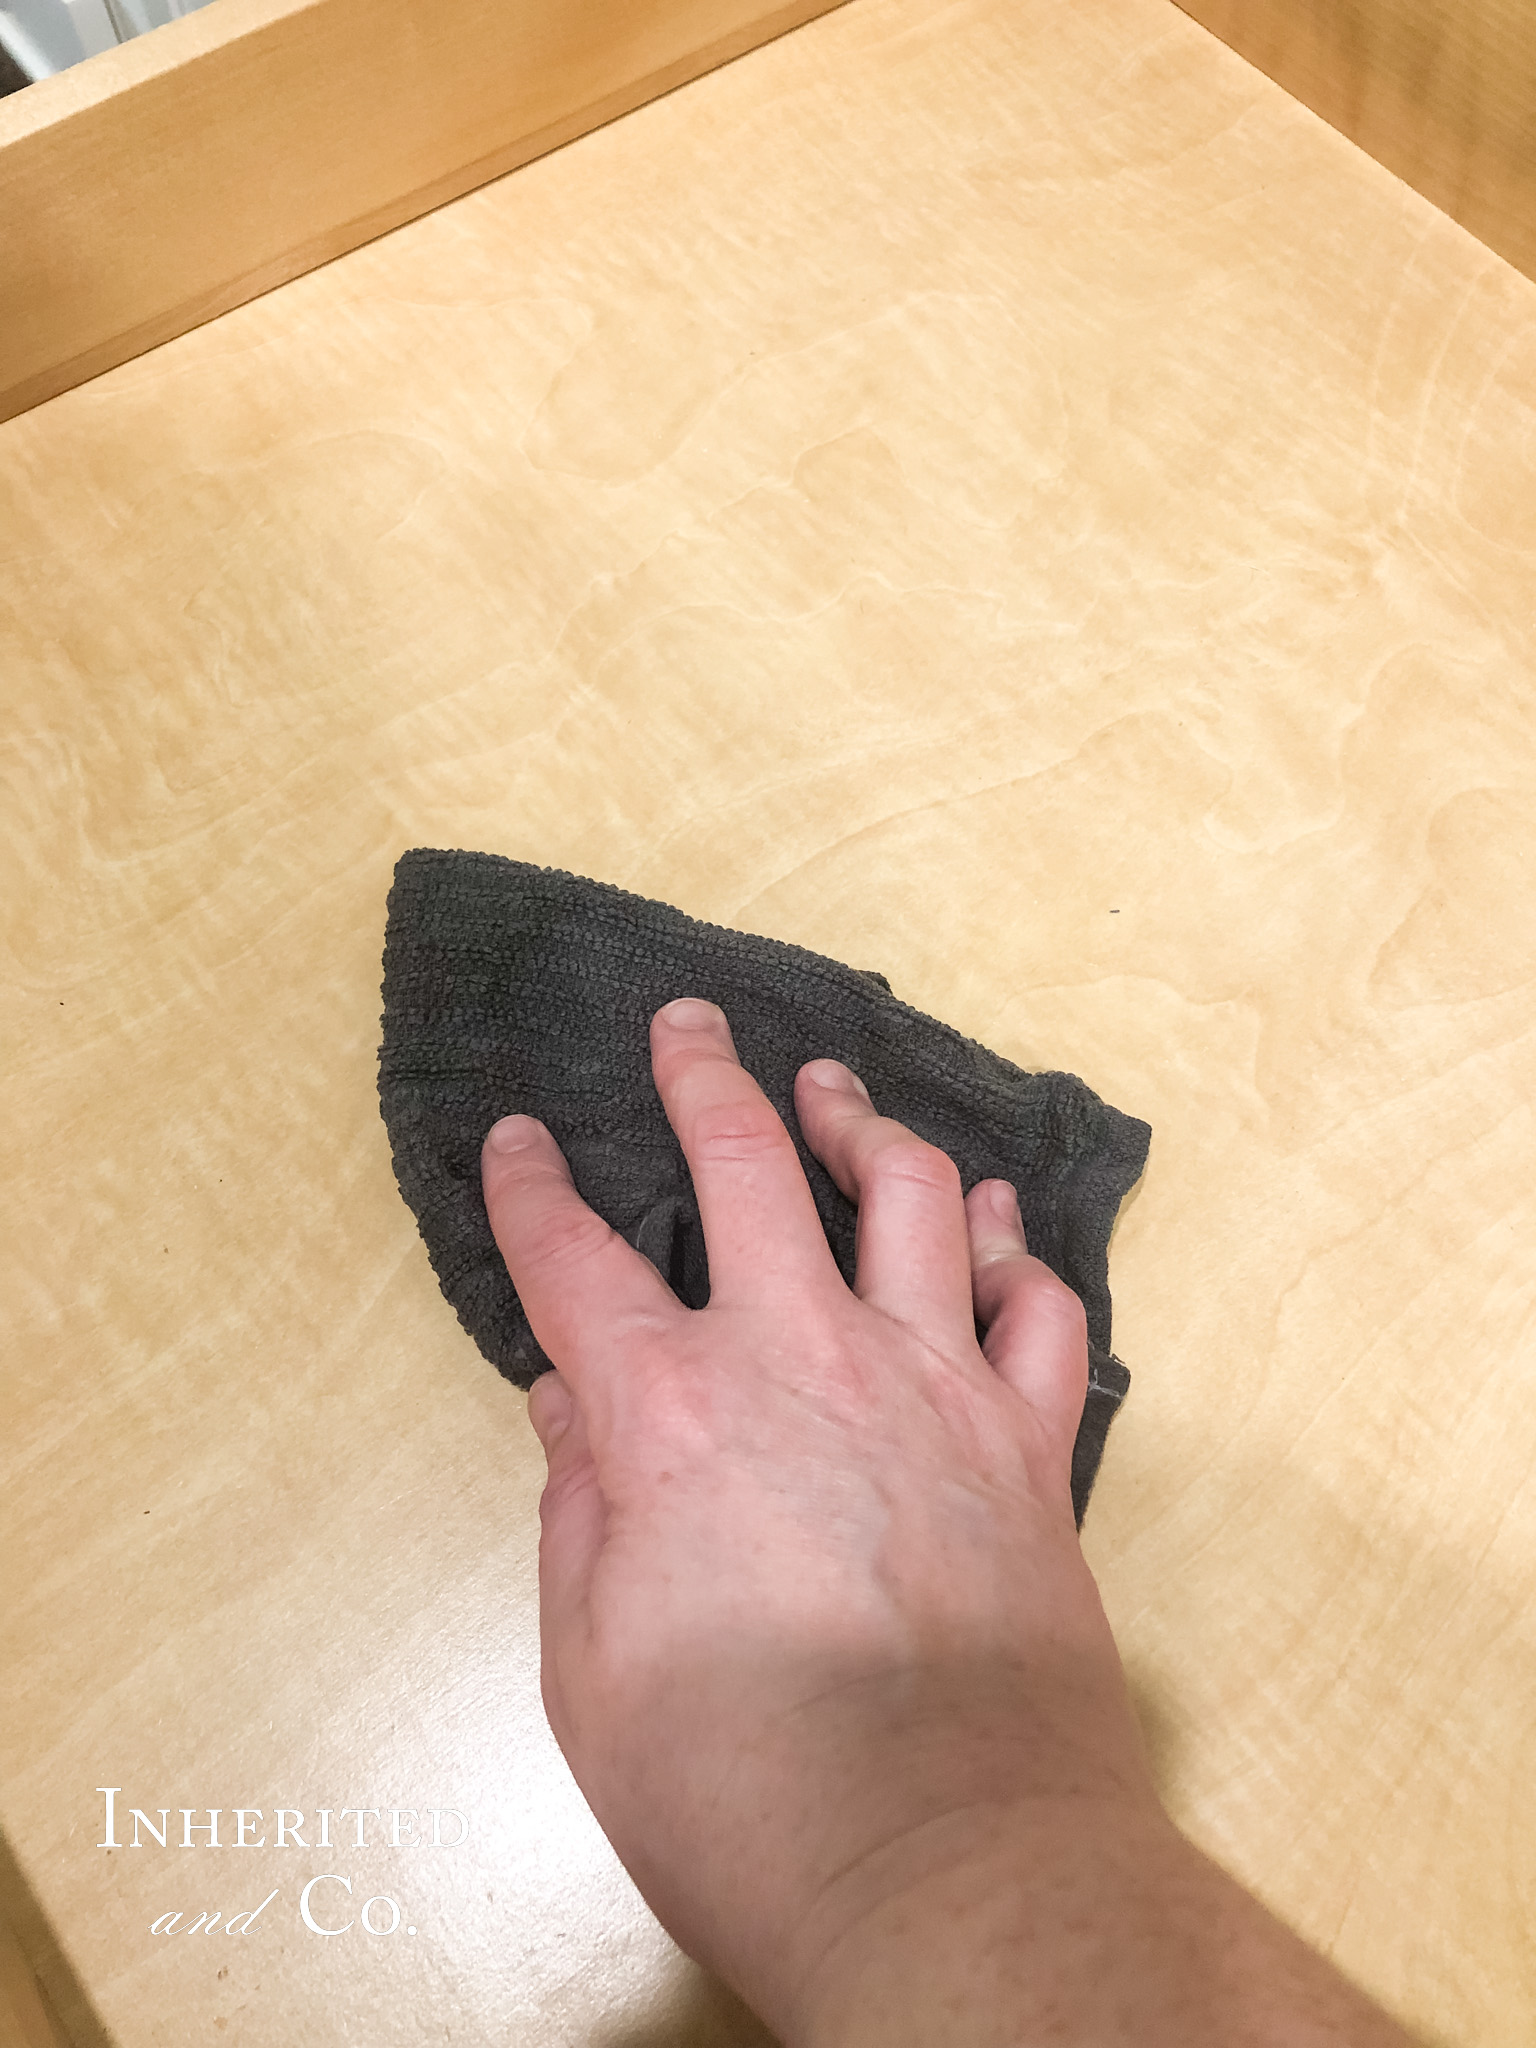
- CLEAN—Use this opportunity of a cleared space to do some deep cleaning. I gave each drawer a wipe with a damp cloth. You may even want to vacuum if you have some pesky crumbs hanging out in the corners of the drawer.
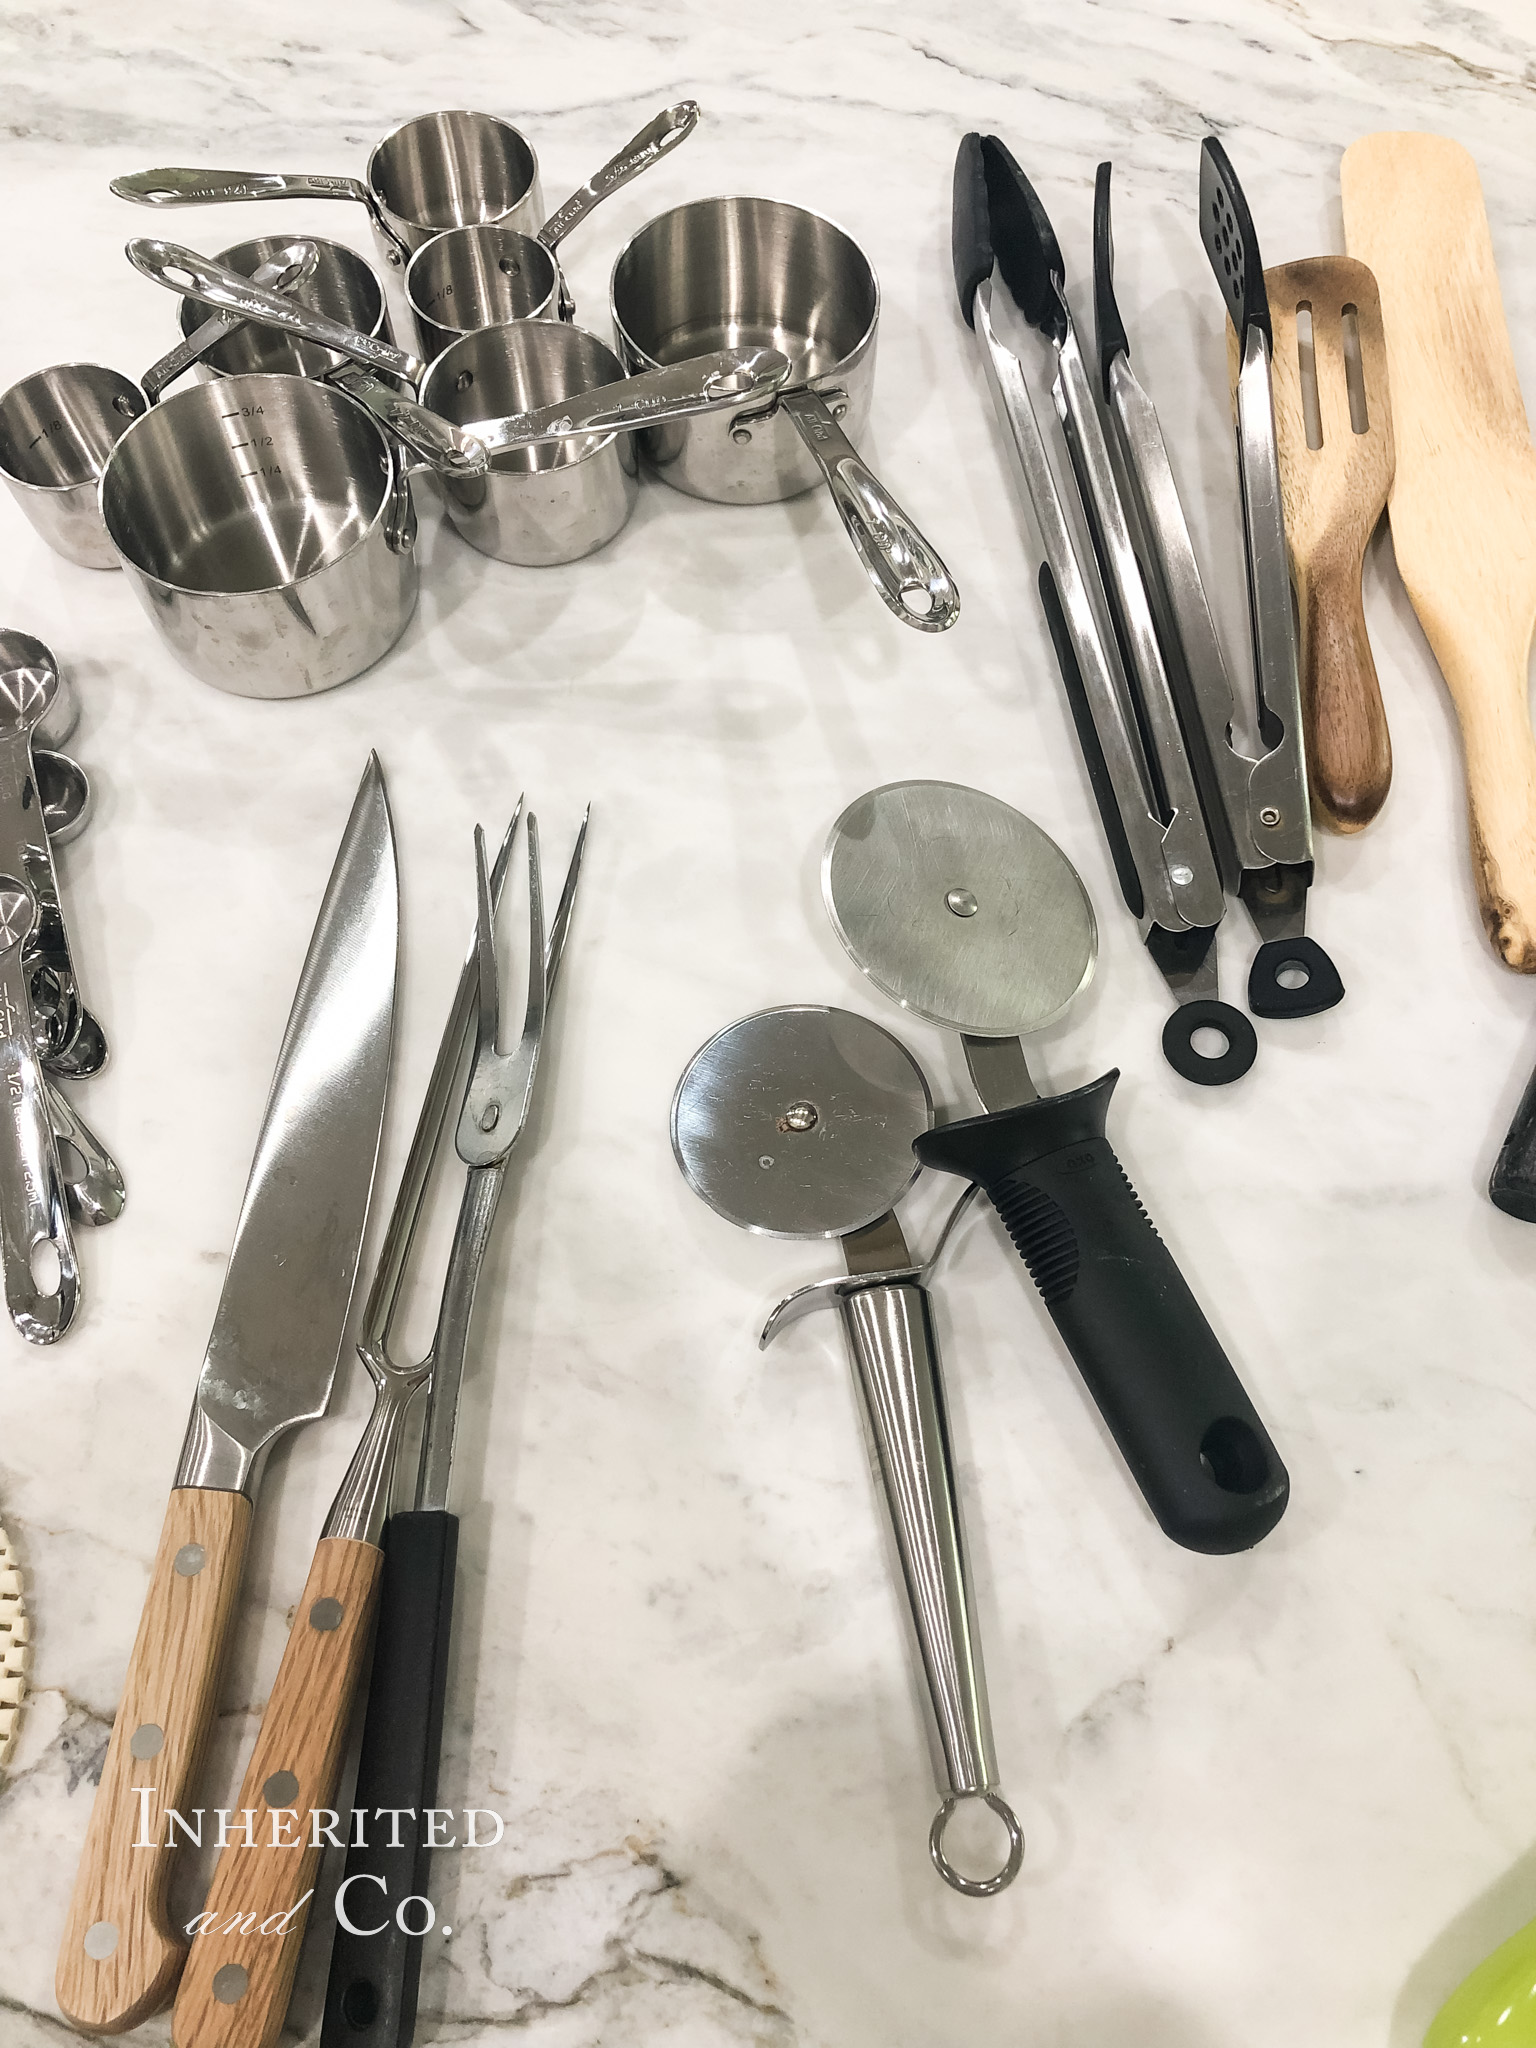
- SORT—This step was mainly for the second drawer of kitchen gadgets, as my flatware drawer was basically empty. I sorted the gadgets into categories of like items. This step is needed for you to know what you have or do not have.
- ASSESS—Now that everything is categorized, assess each grouping. Do you have repeated items that are not needed? If so, pull them for donating. For example, I had two pizza cutters, so I chose to donate the plastic-handled one but keep the stainless steel one. Some people like to edit before the sort phase. If I’m obviously getting rid of a piece (in this case, a worn-thin oven mitt), I’ll pull it as I’m clearing the space, but I find it easier to know what I can let go of once I see what all I’m working with. Part of the assessing for me includes deciding what I need to buy to contain the items I have and the items I will add. This step lets me cut down on returning baskets and bins because I have a clear spatial visual. If I split the project into a few days, as I did with these utensils, this step is usually my stopping point for day one.
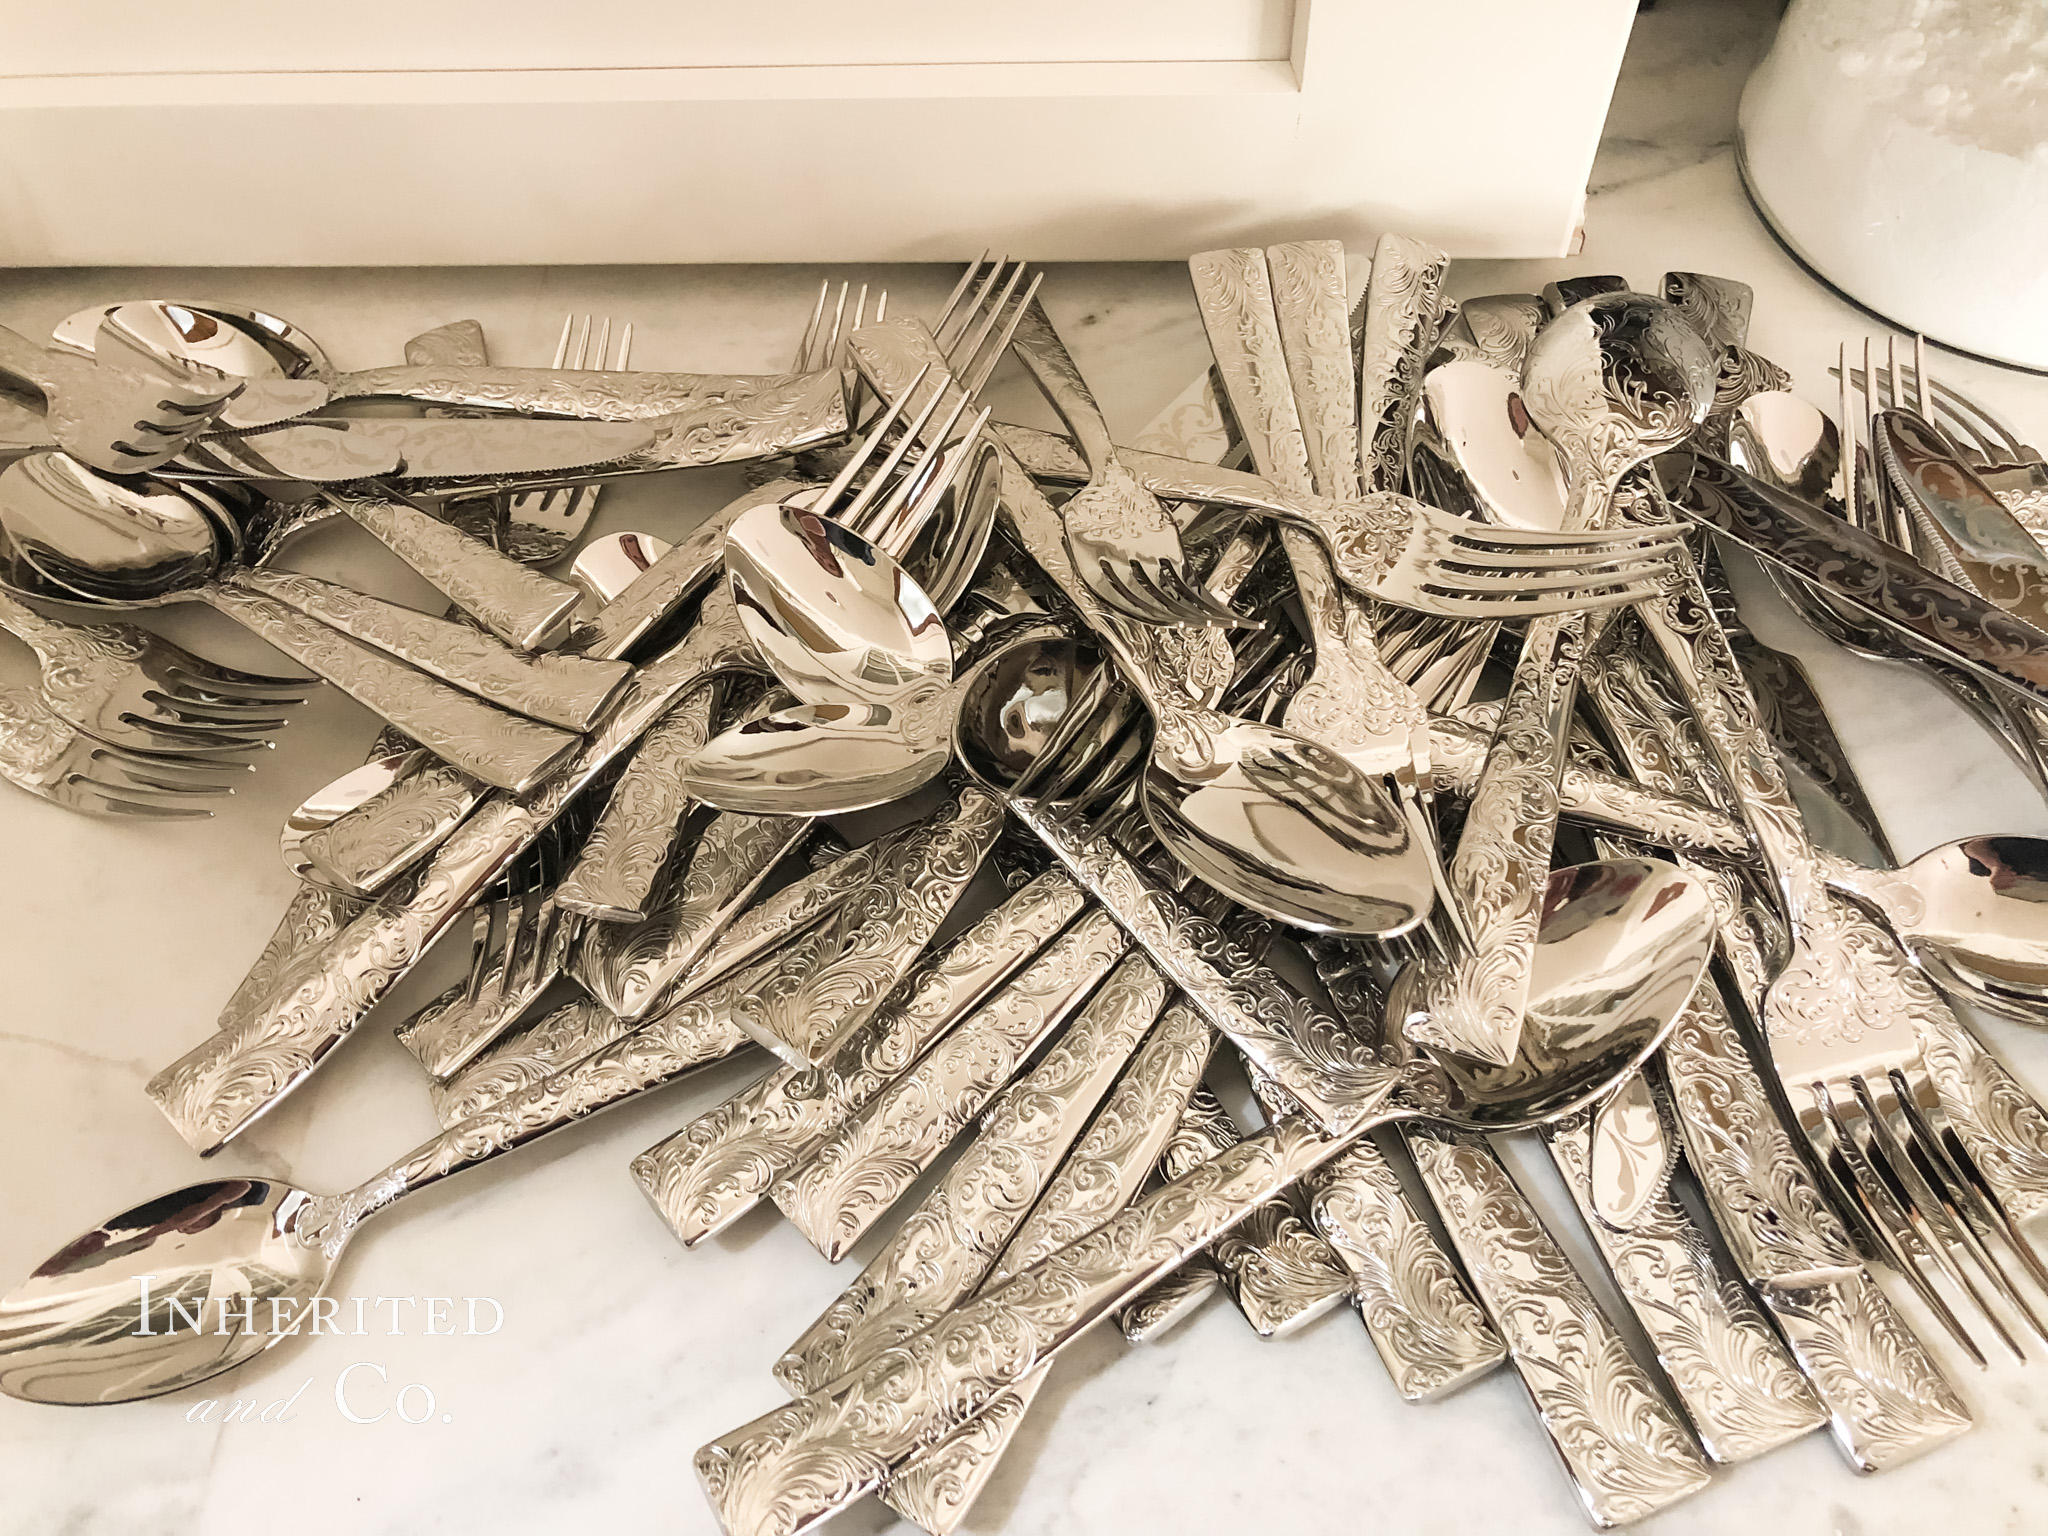
- BUY—For my utensil drawer organization, I started with purchasing my everyday flatware. I wanted something that was an upgrade from my college set, that felt heavy, well-made, and pretty. I purchased the Ricci Parisian Garden Set in silver. The embossing spoke to me and felt like it would elevate our homecooked meals. In terms of storage, I needed bins of various sizes to accommodate a range of kitchen items. They could not be too high because the drawers that would house the utensils are shallow. I knew I did not want plastic bins, so my thought was a bamboo option. However, I ended up purchasing some acacia organizers. I liked the contrast they provided from the pale drawer interiors, plus they are stackable. Now, I cannot stack them in these particular kitchen drawers, but I can in other drawers throughout the house. Let’s just say that these organizers are getting used in multiple places—grandmother’s buffet, coffee bar, and more.
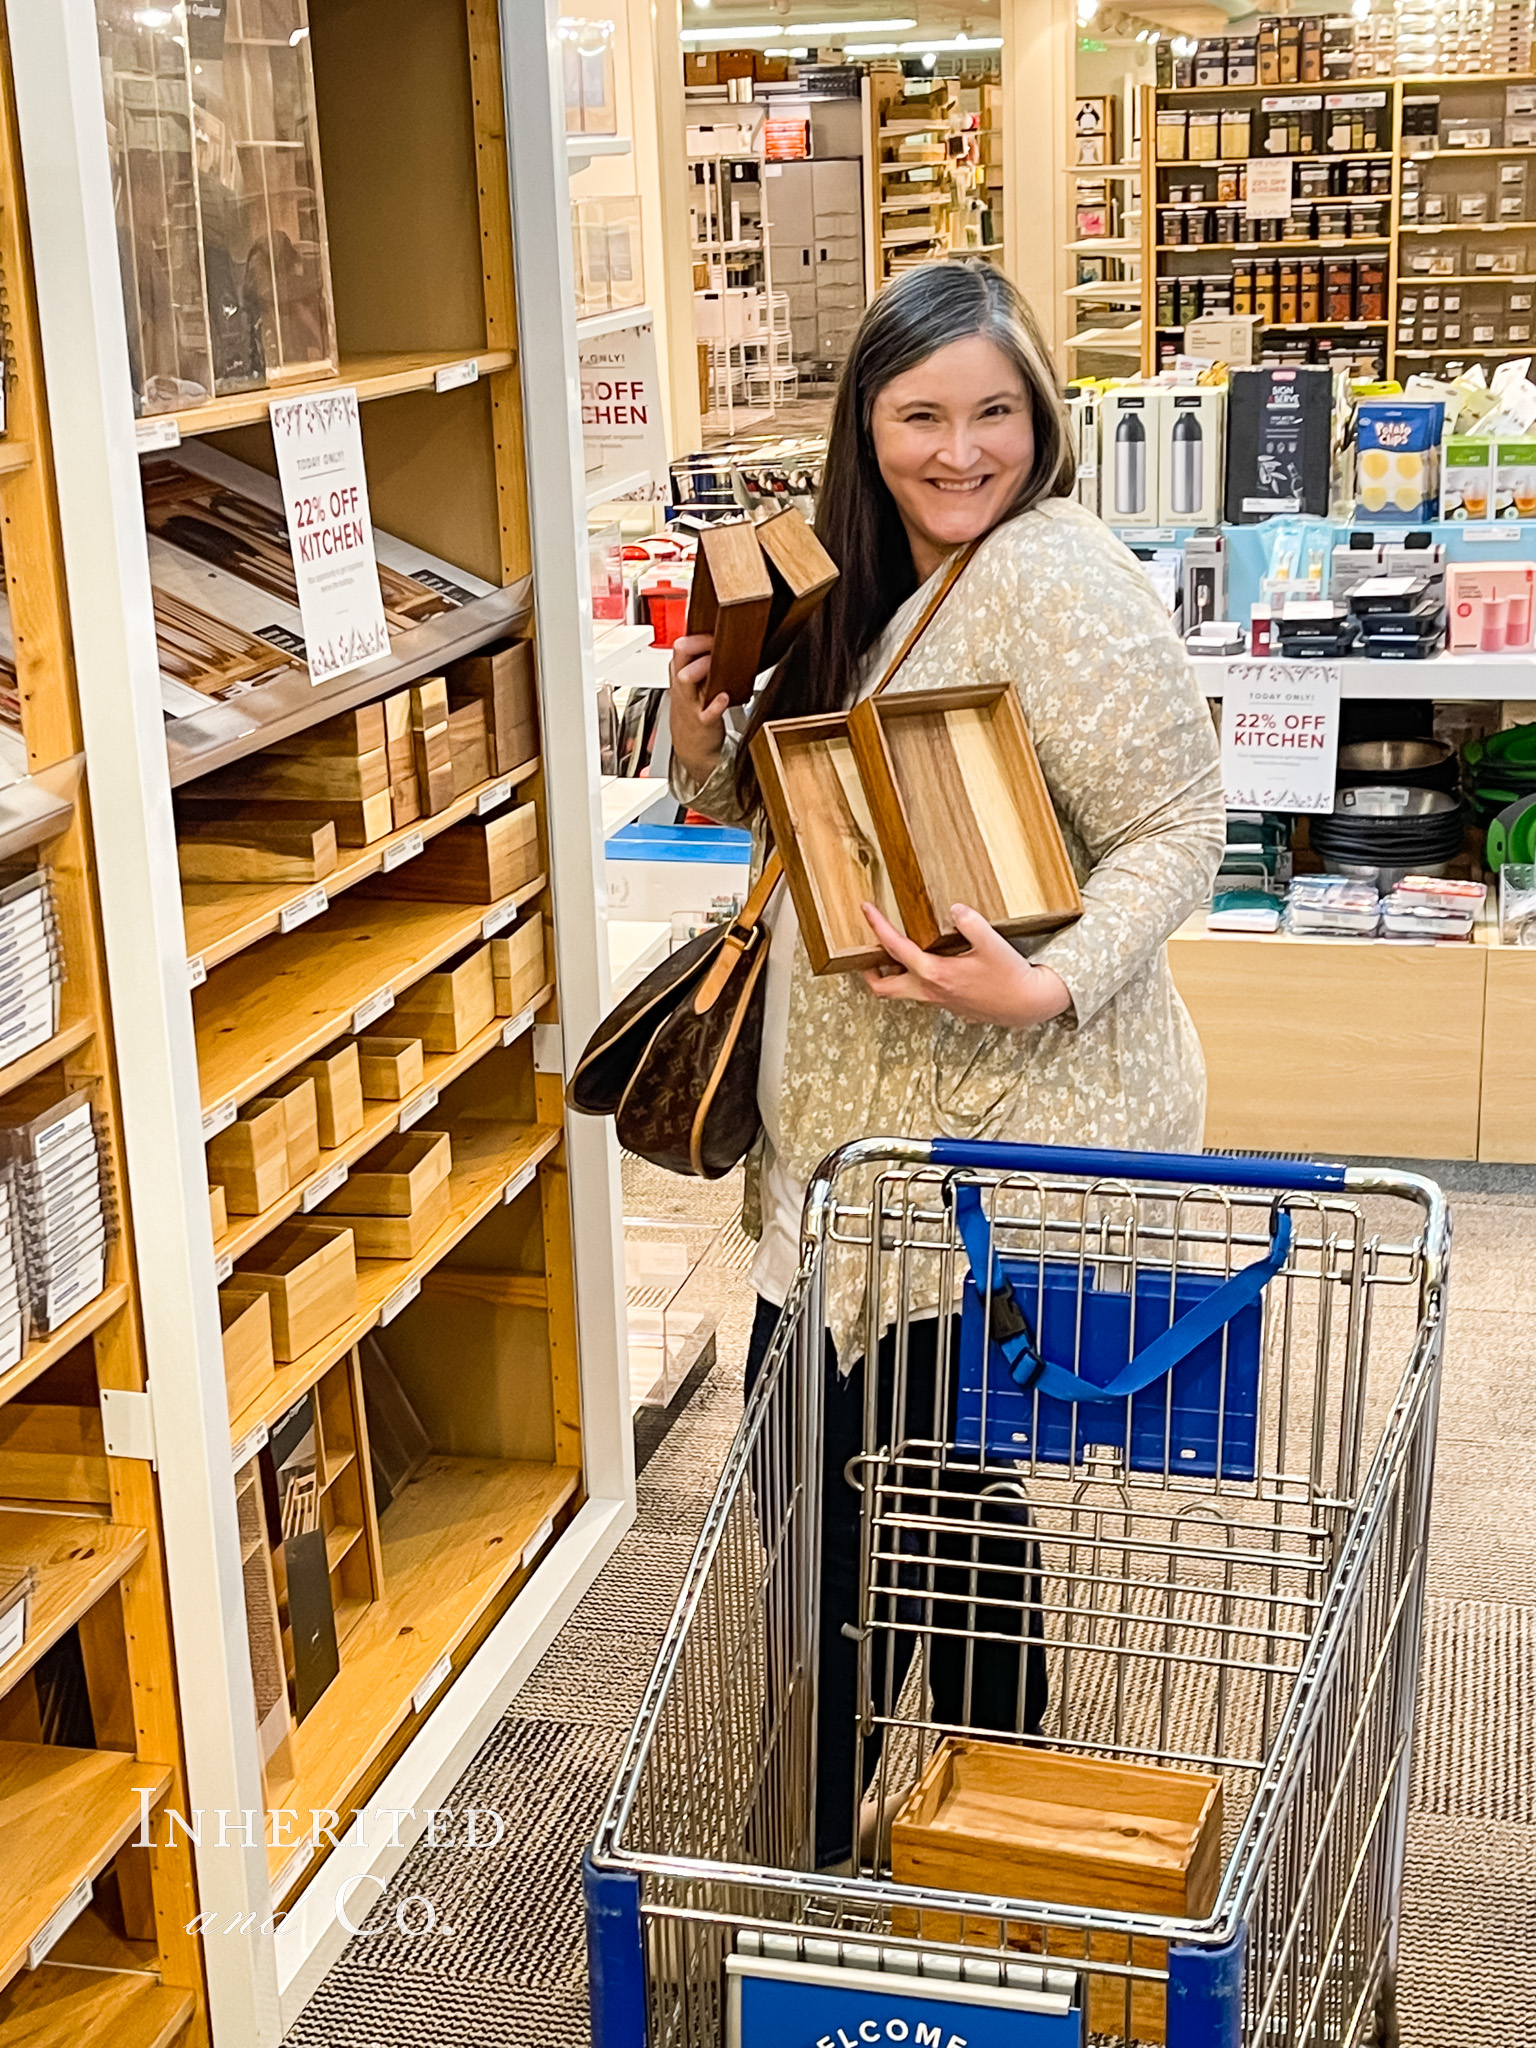
- ARRANGE—Once I had everything sorted and purchased, the arranging came together quickly. I had a general idea of how I wanted to layout the drawer and which size organizer would work for each category, so I put the empty organizers in the drawers to see if the sizing would work. I made a few adjustments then filled them.
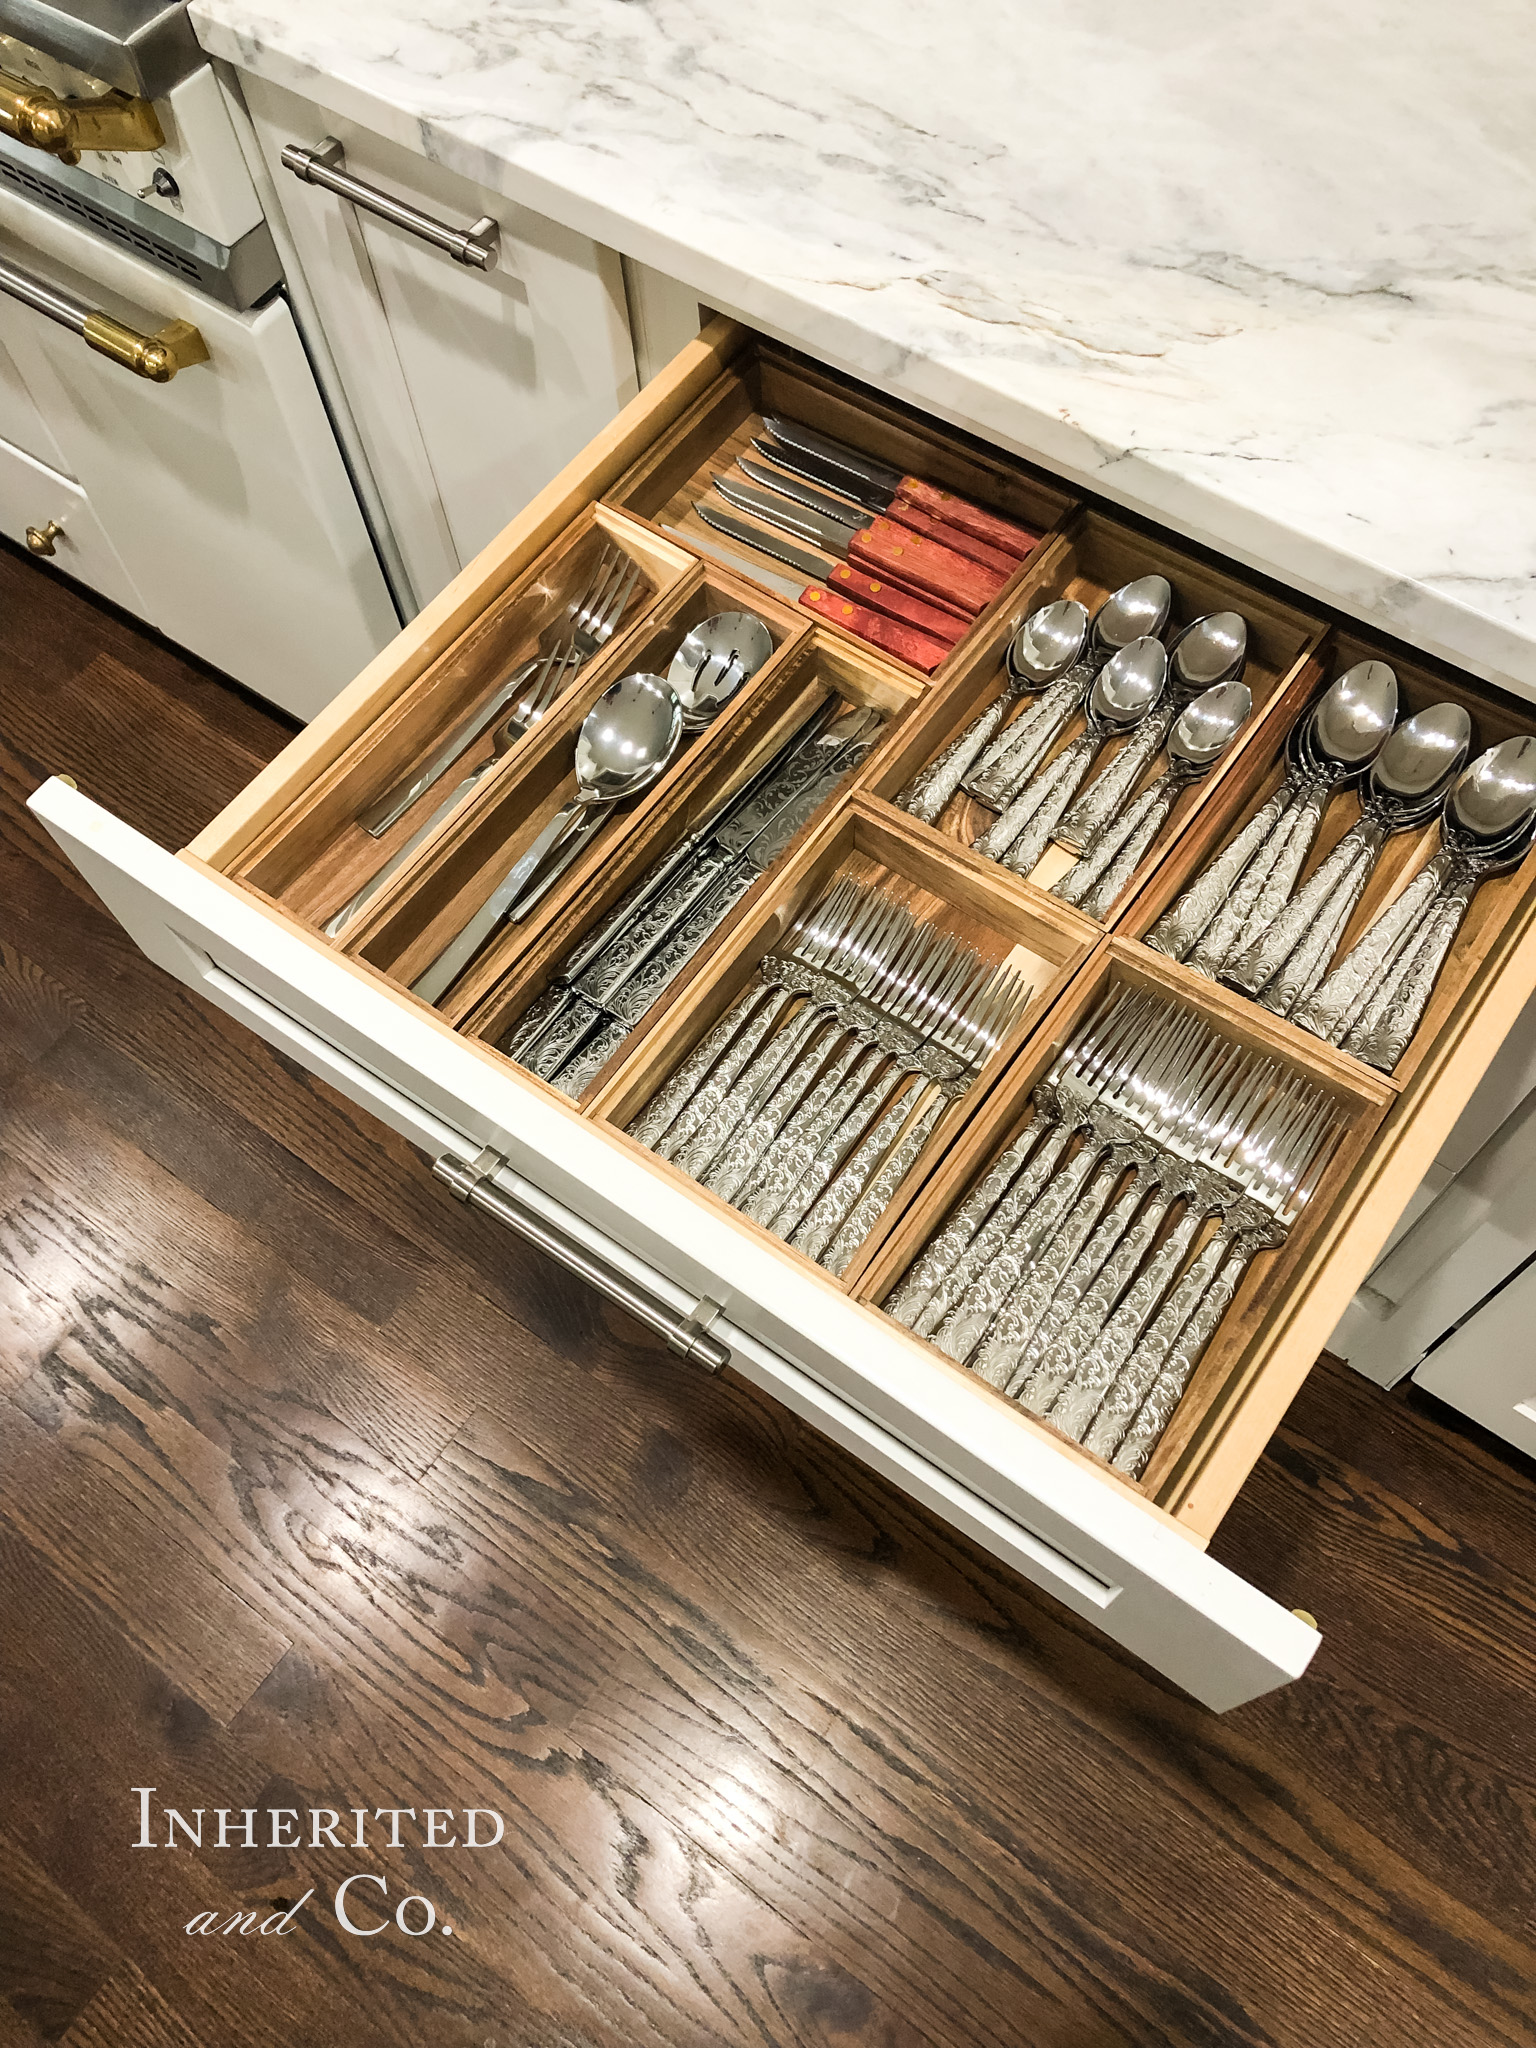
SILVER FLATWARE (also available in GOLD & BLACK) | WOODEN ORGANIZERS | SERVING UTENSILS | STEAK KNIVES
Related Posts, Pages, and Sources
- If you are looking for more organizing sources, check out my Organization Shop Page.
- You can also head to the “Organization” board on my Amazon Storefront for more resources.
- If you are looking for more organizing inspiration, check out my Pantry Organization Project and Create a Home Coffee Bar Using an Antique Cabinet.
Happy Organizing!
My husband says I’m happiest when I’m organizing, and I will say that it feels really good to have this utensil drawer organization project completed. I like being about to see everything at a glance and not shuffle through the drawers. Now, there are some tweaks that I will make along and along. I know I want to replace some utensils with higher quality pieces. I need to buy an ice cream scoop, but having myself a little more organized in the kitchen will make cooking a little more enjoyable.
If you purchase and try these acacia drawer organizers, let me know. Tag me @inheritedandco on Instagram! I’d love to see how your organizing project turned out.

